Don’t get me wrong, winter is wonderful for many reasons. The holidays, the sight of snow, the warm drinks… there’s a lot to love! But to say I’m excited for spring would be an understatement.
I don’t know about you, but I’m more than happy to welcome the nice weather and bright colors that come with the season. I’m also excited to change things up around my apartment with new decor and home accessories.
Jill mentioned this before, but I’m a HUGE crafter. From my childhood art projects to my sorority days, I’m the queen of creating anything and everything. So while I could just go to the store and buy a bunch of new spring decorations, I gathered up my crafting supplies and got to work.
Yesterday I created a super cute project that only required five items and about 30 minutes. And better yet, the whole thing came in at under $10.
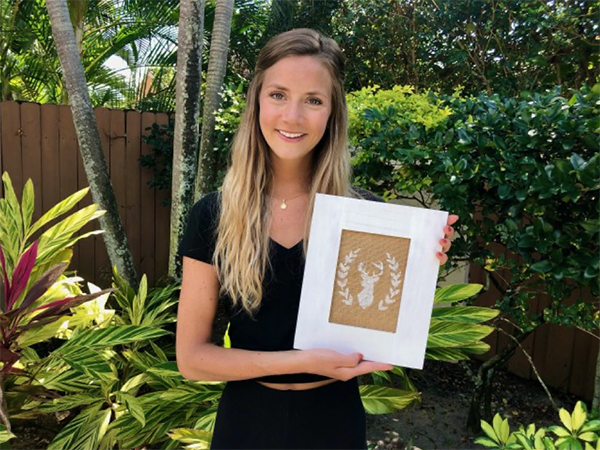
So before I bore you with more details, I’ll let you take a look yourself! Keep reading to see my newest (and cutest!) spring decor project.
Spring Burlap Picture Frame
Just like ingredients in a recipe, you’ll need to start by gathering your supplies.
I jumped from store to store to find all of my items, but you can generally find all of these in your go-to craft store. You might even be able to gather these around your home. So make sure to take a peek in your closets and drawers before you begin!
*post may include affiliate links
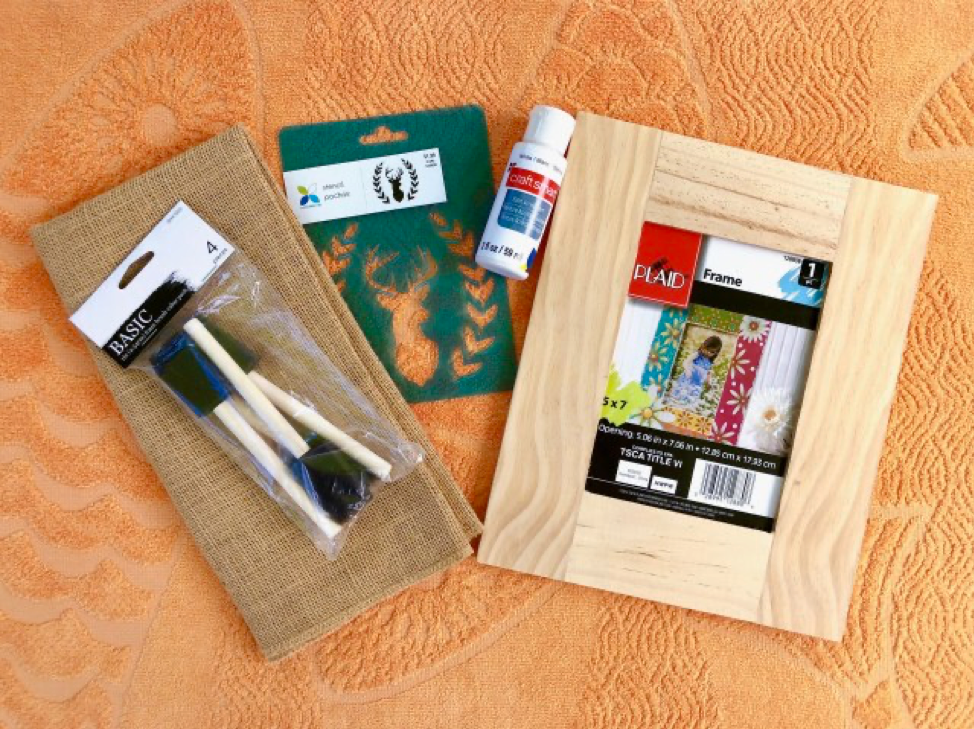
Burlap Picture Frame Supplies
- Thrifted or unfinished picture frame
- Scrap of burlap fabric
- Stencil (any pattern that fits into frame opening)
- Foam brushes
- Acrylic paint
- Pen and scissors
When you have everything on hand, you’re ready to begin! Oh, and if you have kiddos in the house, this craft is simple enough for them to join in on the fun.
Step 1
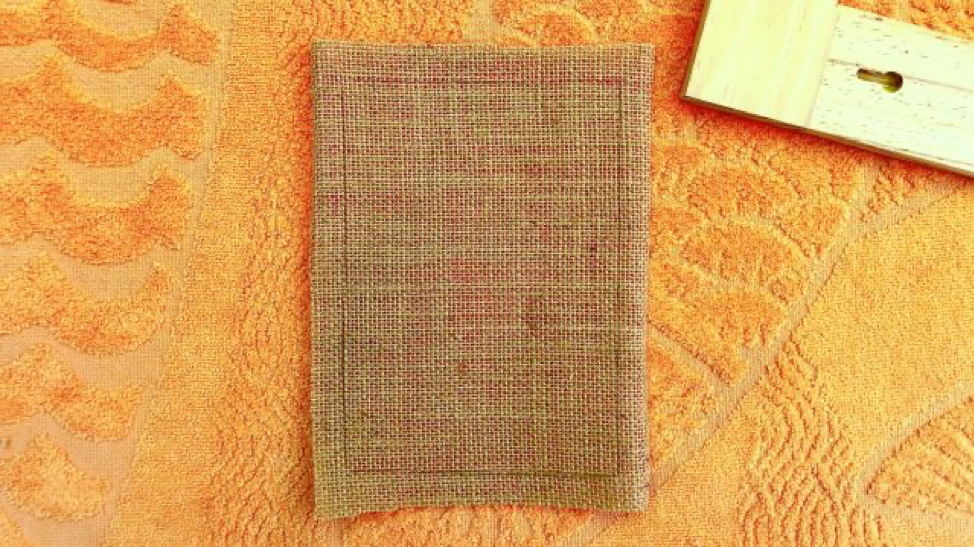
First, I grabbed my frame and removed the back. Setting the back aside, I laid out the burlap on a flat surface and placed my frame on top of it.
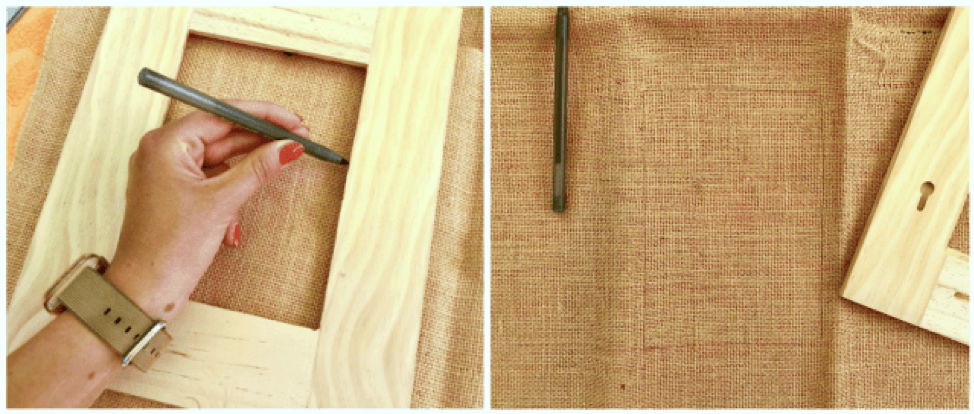
I got my frame at Walmart for about $4 and I like that it has a wide 5×7 opening.
Using a basic ball-point pen, I traced along the inside of the frame to make a rectangle. This gave me an outline for my design.
Step 2
After marking the burlap, I used a pair of kitchen scissors to cut along the tracing of the rectangle.
I cut just outside the rectangle leaving about a 1/2 inch border on the exterior of the pen line.
Leave a border along the outside of the pen line. This will come in handy later on!
This will end up being the foundation of the burlap background. You can leave the pen side up or flip it over. As long as the stencil is centered on the fabric, you’ll be set!
Step 3
Now that the burlap is cut, grab your stencil and lay it flat on the burlap, centering it in the middle.
While this step isn’t necessary, I like to tape down the sides so that it doesn’t move when painting.
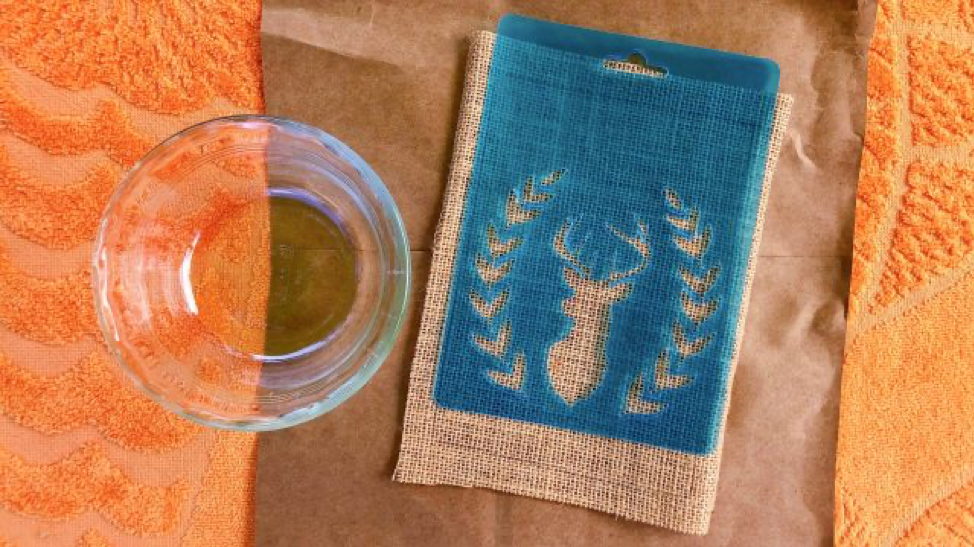
I used a cute deer head stencil. My room has a “mountain chic” theme so it seemed like a good fit.
After securing in place, grab a small bowl and fill it with paint. You’ll also want to put some cardboard, newspaper or in my case, a paper bag behind it to ensure no paint gets on your table. Since burlap is filled with tiny holes, this step is absolutely necessary!
Step 4
It’s painting time! My personal favorite… Use one of your foam brushes and dip it in the paint.
Then, without using too much paint at once, dab it over the stencil one small spot at a time.
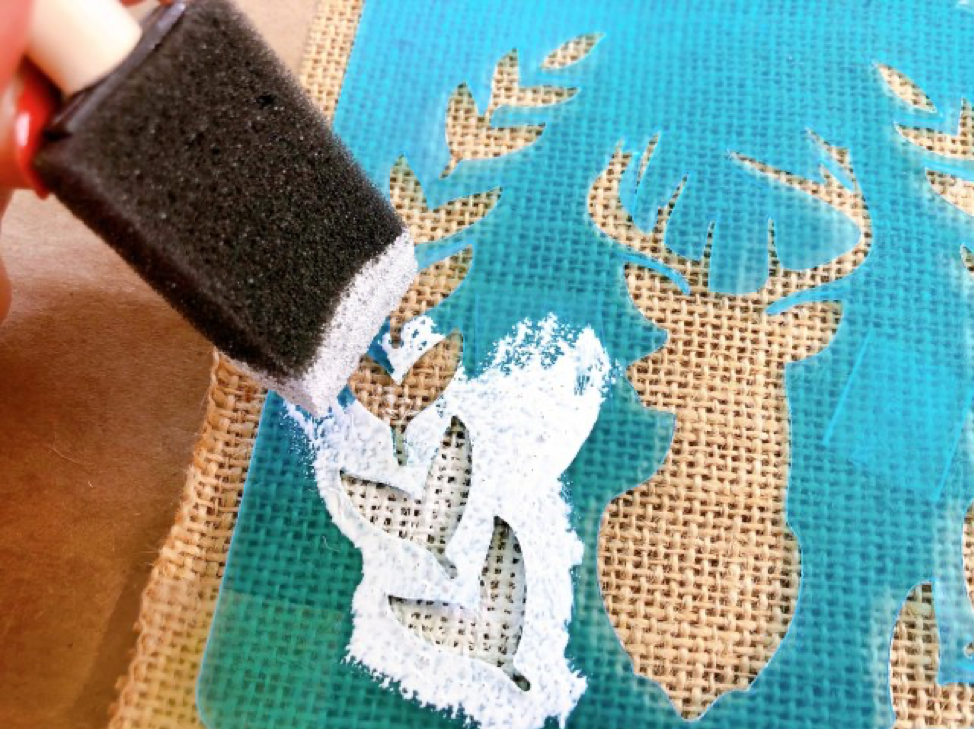
When the entire stencil is covered, wash off your brush and leave the stencil to dry. I left it for about 15 minutes, but the pant was almost dry at around 10 minutes.
Next, lift off your stencil and you’ll have a beautiful pattern on your burlap!
Step 5
Set the painted burlap to the site and grab your picture frame. With the foam brush (or another paintbrush you have lying around), paint the entire surface of the frame.
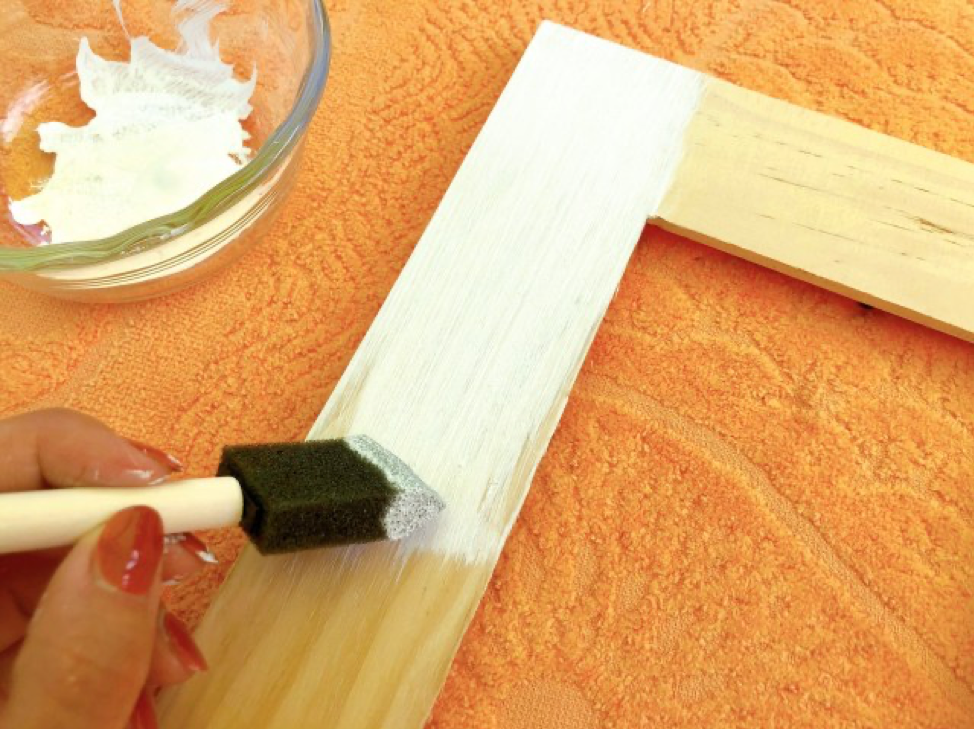
I used two coats (leaving the first to dry for about 5 minutes before adding the next one) and found that two was enough to make the surface look smooth and finished.
Oh, and don’t forget to paint the rim of the frame — it will make a world of a difference.
Step 6
Now that you have your painted frame and painted burlap, snag the back of the frame that you set aside earlier.
Place it on top of the BACK of your painted burlap (making sure it’s centered).
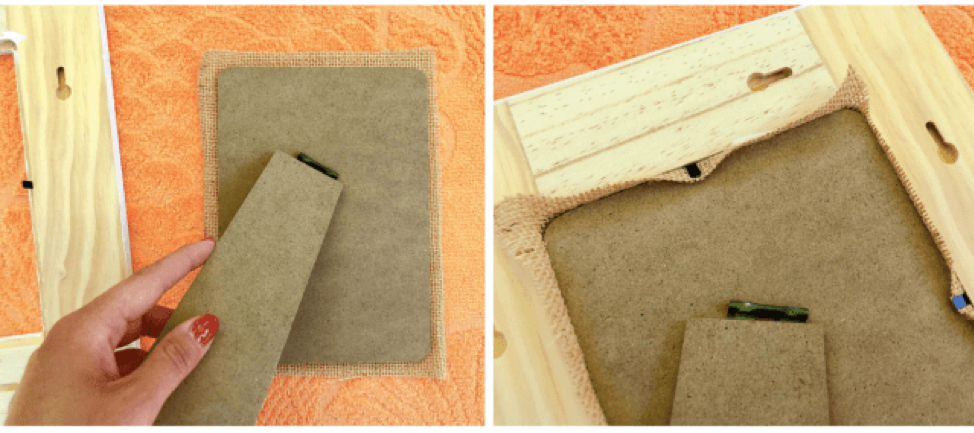
Putting the back into the outside of the frame might require a bit of pushing. But it should go in just fine.
Place the back of the frame with the burlap into the outside of the frame. Then, secure it into place.
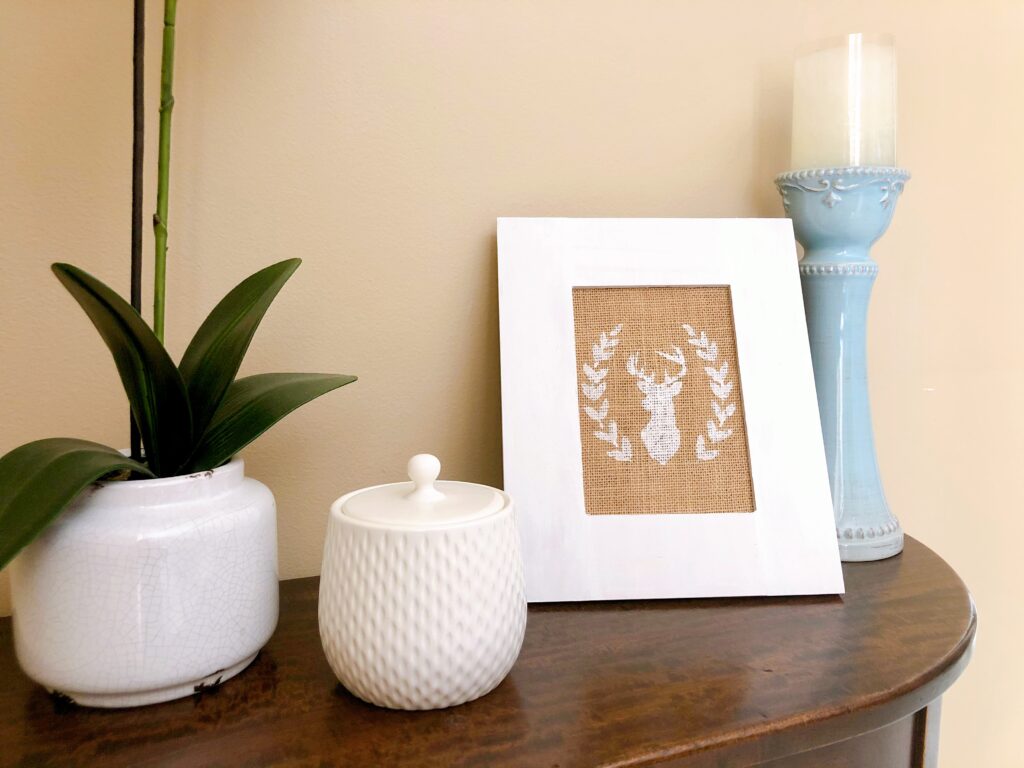
A Burlap Picture Frame For Your Spring Decor
There you have it! A beautiful burlap picture frame that makes for a perfect spring decor piece.
Honestly, the simplicity of this one is why I love it so much. I also love the affordability of it all.
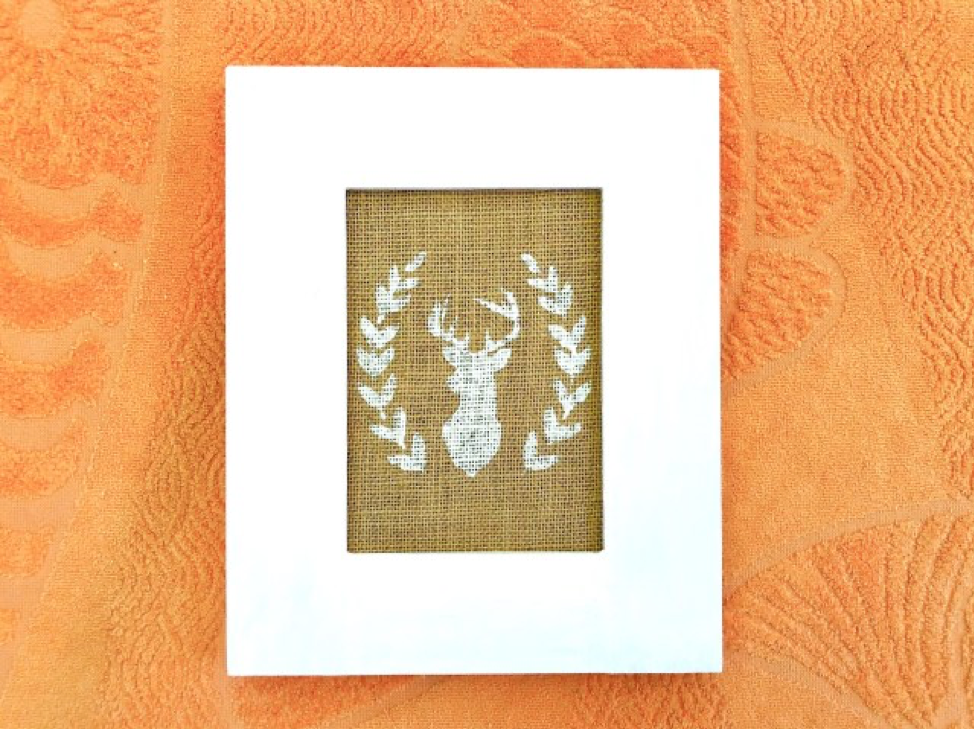
Simple. Affordable. Cute. Just the way I like it!
I hope that you’ll be able to get crafty at home too — and if you do, make sure to share it with Jill. I know she would love to see your finished project!
All the best,
Megan