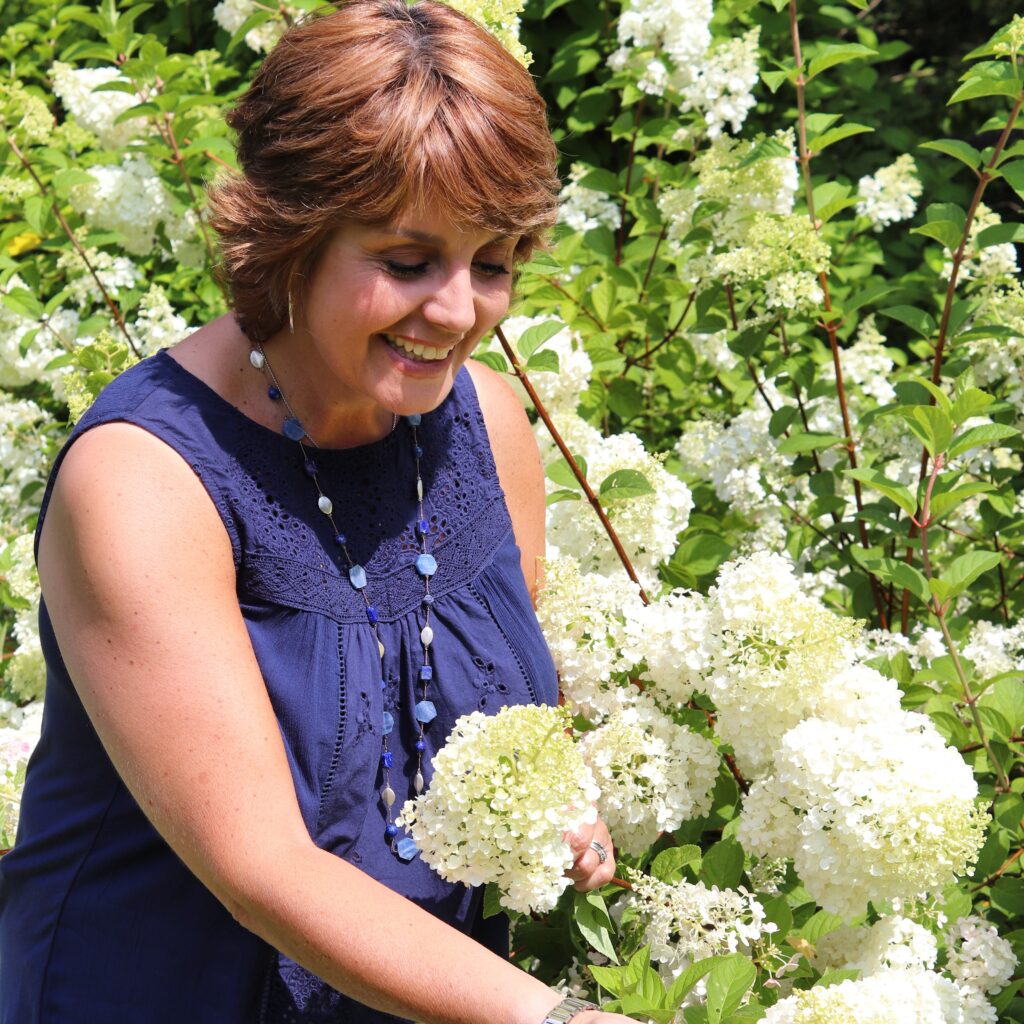
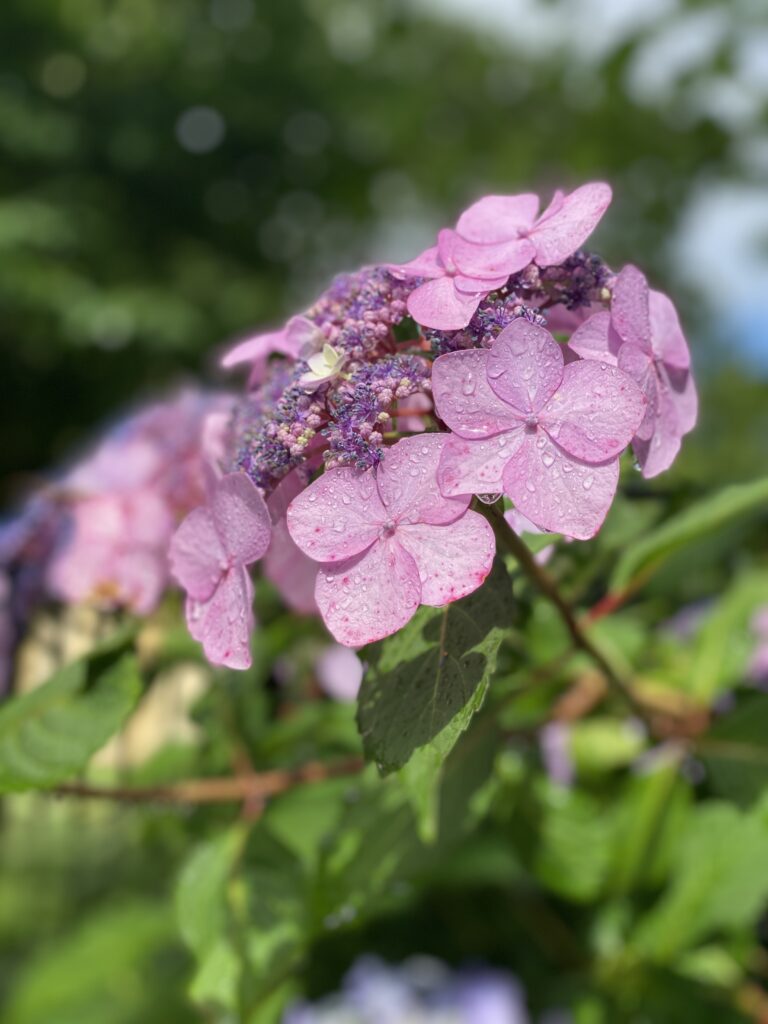
I don’t know about you, but I absolutely adore hydrangeas.
I have them everywhere in both my back and front yard. Not only do they produce the most beautiful, abundant blooms, but they’re also easy to cultivate.
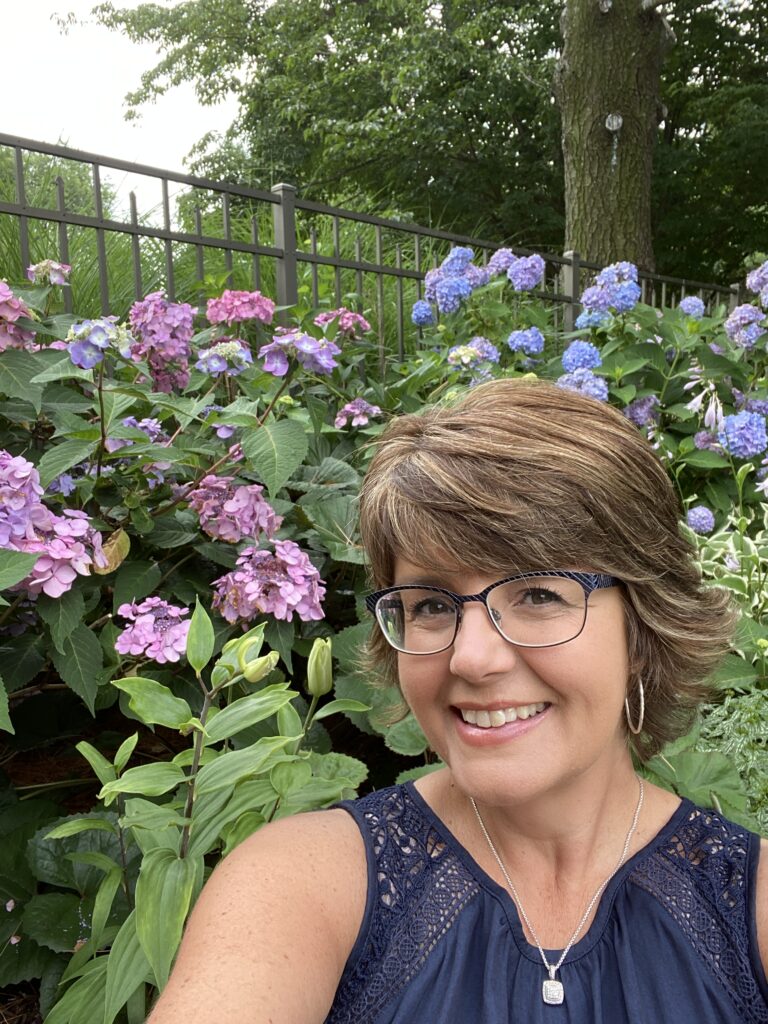
That’s why I say hydrangeas are the perfect foundation for any garden.
To help you get the most out of your hydrangeas for many seasons to come, take a look at these hydrangea care tips for taking care of both new and previously planted hydrangeas.
Choosing the Right Plant
First things first, choosing the best plant.
You want to try and find a hydrangea plant with equal branching on each side.
Towards the end of spring and the beginning of summer, the hydrangea stems should sport flower buds or heads that are open or on the verge of it.
Try and find leaves that are not droopy (a sign of overwatering) and are bright green in color.
Keep in mind that not all hydrangea plants are hardy enough to last in an outdoor garden.
Sometimes, hydrangeas are grown to bloom out of the blooming season for holidays such as Mother’s Day.
These plants will struggle with the future yearly growth cycles.
Don’t Be Shady
Now that you have the perfect plant picked out, the next step to proper hydrangea care is planting.
Hydrangeas should be planted in areas with an ample amount of early morning sun.
That being said, do your best to avoid planting your hydrangeas in full sunlight.

While planting the big beautiful blooms near your mailbox might look pretty, it introduces a whole host of problems.
The sun requirement is different for a variety of blooms.
I strongly suggest doing a little of research to ensure that you fulfill the plant’s needs.
Laying Down Your Roots
When you get your hydrangeas back home, you should water them in the pot as soon as possible.
You should also plan accordingly for how large your blooms will grow and space them out accordingly. Often, the tag on the plant will include such information.
Dig a hole that is the same depth as the pot but is two to three times as wide.
In order to loosen the plant from the pot, I like to gently roll and push the plant on its side.
After you take it out, you want to very carefully loosen the root from the surrounding dirt. This step makes it easier for the roots to grow underground.
For the best results, you should fill in the hole with half of the fertilizing soil and half of the original soil.
Getting Dirty
As with any other plant, having good soil is fundamental to proper hydrangea care.
Hydrangeas have a strong preference for well-drained, moist soil.
The more nutrients in the soil the better. Steer clear of dry, rocky soil.
As the weather gets warmer in the summer, adding mulch to your garden can help to keep your plants (and their roots) hydrated and cool.
The mulch should be about 2 to 4 inches deep. If it is too shallow then the mulch can not regulate the soil beneath it.
I recently learned that you are supposed to keep the mulch away from the base of your plant (about 4 inches) in order to prevent rot and encourage airflow.
Got Water?
While all plants can’t live without water, hydrangeas are known to be particularly thirsty.
I try to thoroughly water the base of plants about 3 times a week. The consistent deep watering aids in root growth.
Whatever you do, do NOT water the flowers and the leaves as it introduces numerous problems that are discussed later on.
Wait! Before You Prune…
If you are considering whether to prune, it’s important to note that different varieties have different pruning needs.
For instance, some hydrangea plants need to be pruned during the winter while for others it is spring or even late summer.
There are also plenty of hydrangeas that do not need to be pruned every year… some don’t need to be pruned whatsoever!
It depends on whether the hydrangea is new wood (late winter/early spring) or old wood (late summer).
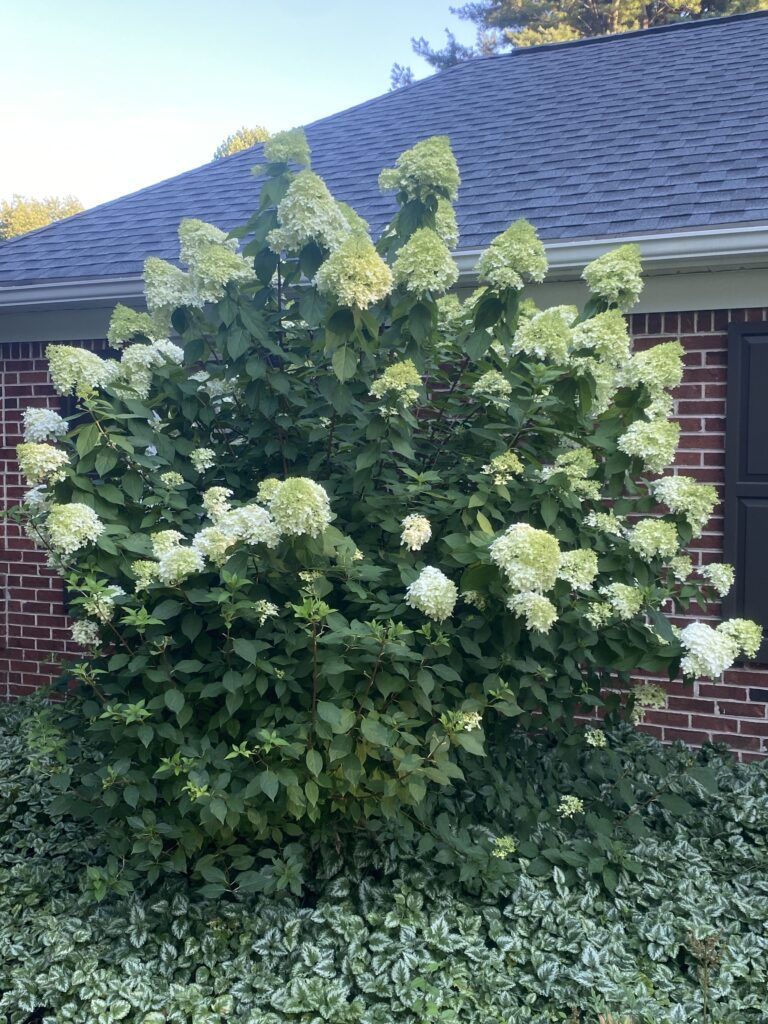
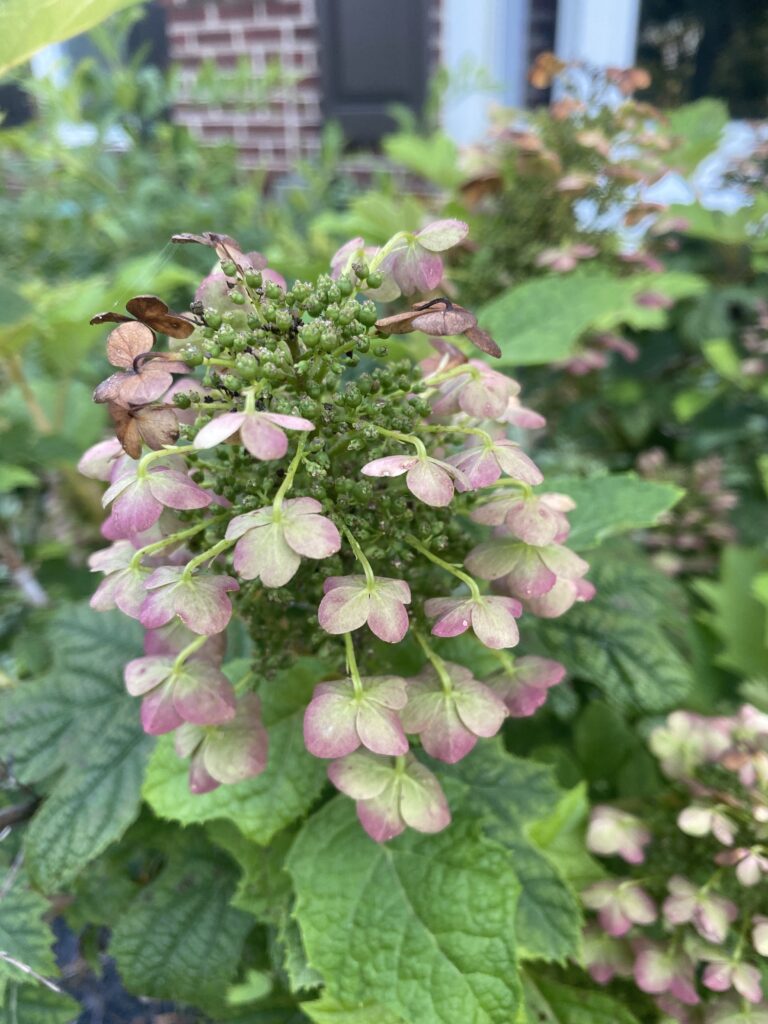
The most common types of hydrangeas are known as mopheads, with the big leaf variety (aka French hydrangea) being the most popular.
The big leaf variety of hydrangea blooms on top of the previous year’s growth thus classifying it as “old wood”. As such, it should be pruned in late summer.
While the majority of hydrangeas are considered to be “old wood” plants, I highly recommend doing a quick Google search to confirm before you start snipping away!
Related: Just Jill Shop Lawn and Garden Products
Still intimidated by pruning your hydrangea?
Here’s an easy option: Don’t prune until the buds of your hydrangea start to swell in spring. Then just cut off anything above the healthiest buds at the top.
Or, you can snip just above healthy buds further down if you would like to reduce the size of the plant. This technique will keep you from accidentally cutting off all of next spring’s growth.
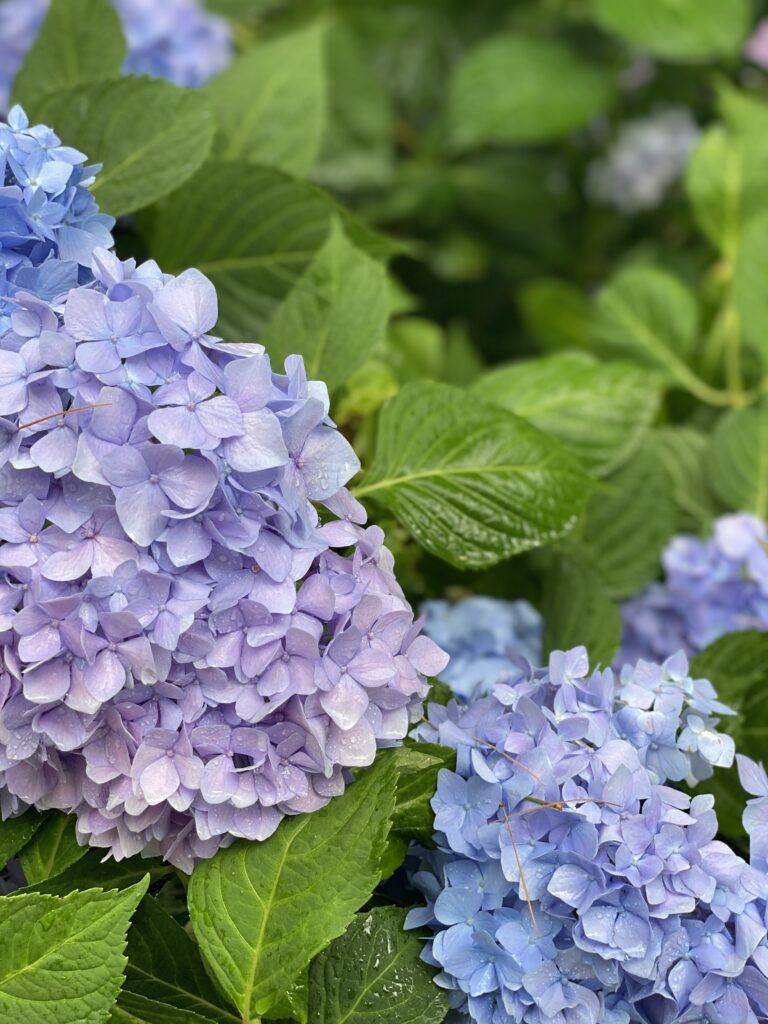
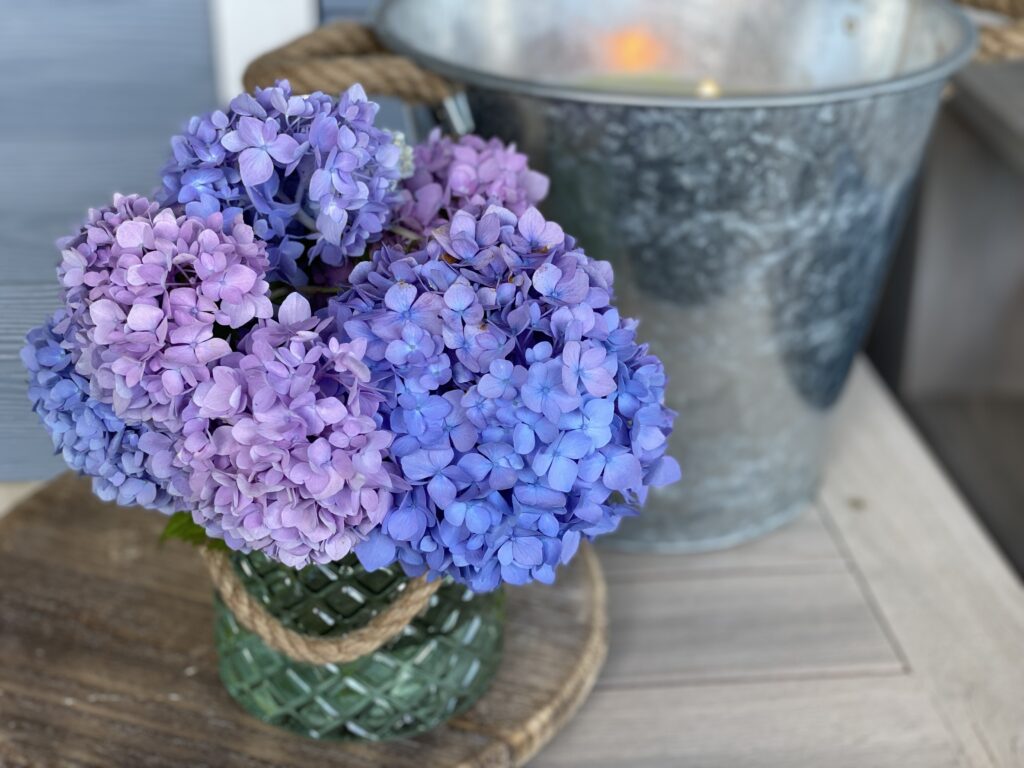
Color Me Intrigued
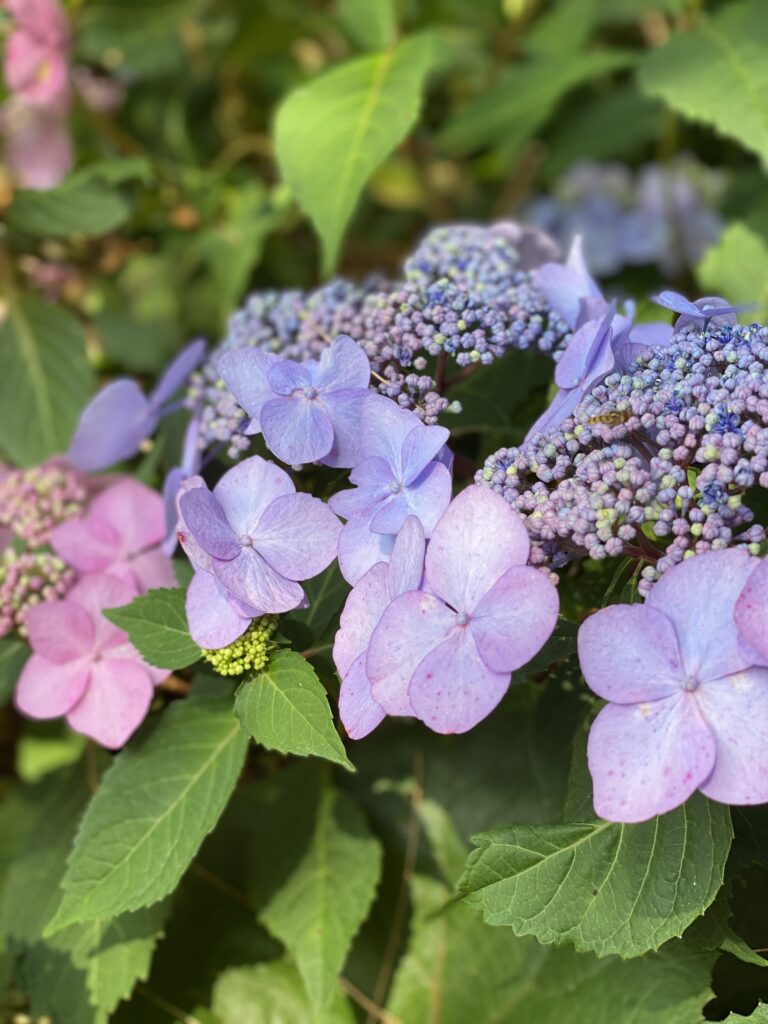
One thing that makes hydrangeas unique is the plant’s ability to change color.
From year to year, the same hydrangea plant can appear to have blue or pink blooms.
This chameleon act is thanks to the acidity of the soil.
Blue blooms appear when the soil is acidic, meaning it has a pH of 6.5 and lower. In order to acidify the soil, you can spread aluminum sulfate around the plant.
However, the pink blooms only make an appearance in alkaline soil, which has a pH of 7.5 and higher.
If you are hoping for a deeper blue, you’ll want to aim to have a pH of 4.5. From a pH of 5 to 6, you will see a transition from blue to purple to purple-pink. From a pH of 6.5 to 6.8 to 7, the plant will sport an increasingly pink bloom.
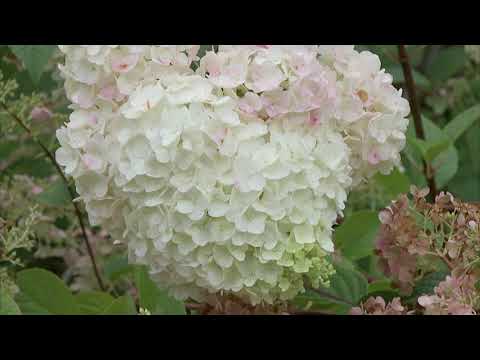
Some hydrangeas are less influenced by soil pH than other varieties. For example, hydrangeas with white blooms will not change color.
Be On The Look Out
Nobody wants to see all of the hard work they’ve put in wilt away as your plants fall prey to disease. It’s important to mitigate the chance of bight, leaf spots, and powdery mildew from appearing.
The best way to prevent bight is to keep the humidity low.
It is recommended that you do not water the plant later on in the day. When you water, you should only water the roots and try your best to avoid getting the leaves and flowers wet.
In line with bight, you want to avoid watering the leaves in order to prevent leaf spots.
If the leaves start to show symptoms, there are several avenues you can take to fight back. If your hydrangeas do get infected, you have several easy, effective, and homemade options.
You can dilute either hydrogen peroxide or garlic oil in a spray bottle and spray it directly on the affected leaves.
If you are interested in a two-for-one, another option includes creating compost tea which also acts as a fertilizer.
Last but not least is powdery mildew. Perhaps the most common out of the three, powdery mildew can contaminate the newly developing buds and inhibit their growth.
Related: Look at What I’m Planting In My Garden This Year!
You can reduce the likelihood of the fungal infection of appearing by steering clear of watering the leaves.
If the infection does appear, there are a couple of organic and semi-organic options to combat it. Regardless of what you choose, you will have to apply the application repeatedly.
Neem oil spray is the most organic option available. Your other option is a mixture of a half gallon of water, a half tablespoon of baking soda, and a few drops of dish soap. For the best results, you must completely coat the leaves.
Chemical fungicides are considered a last resort as they can affect pollination and foliage.
Preventing Pests
Although pests are not common with hydrangeas, they can make an appearance if your plant is in distress.
The most common pests include leaf tiers, aphids, and spider mites.
The best defense is a good offense, which in this case is being proactive. Here are a handful of helpful hacks to reduce the presence of unwanted critters.
Earlier, I mentioned an organic pesticide called neem oil. While it does combat leaf spots, spraying it from time to time reduces the chances of pests as well.
Monitoring your plants also goes a long way. I like to inspect the top and bottom of the leaves each time I water them.
Pests such as beetles and slugs are an easy removal; however, if it is heavily infested, then removing branches is recommended.
Perhaps one of the easiest ways to preemptively combat pest problems is by introducing natural predators.
I know it sounds scary when I put it like that. However, predators such as ladybugs not only actively contribute to its ecosystem but it also eats a variety of bugs.
Beat the Heat
With the recent heat wave making its way through the country, I wanted to touch on some hydrangea care to keep your beautiful blooms alive.
Hydrangeas are particularly susceptible to extreme heat. They’re plants that already love water, and plants keep themselves cool by drawing up water through their roots.
It’s all about keeping in the moisture.
Thoroughly water the base of the plant prior to days with extreme heat. You can help the soil hold moisture by placing mulch down.
Try to avoid applying fertilizer prior to days with extreme heat.
If all else fails, you can use something to supply temporary shade such as a bed sheet.
Check out this video to see Phillip Watson and I collaborate on some gardening fun!
I hope that this quick overview of hydrangea care helps your hydrangeas reach their full potential this season.
Place reach out to me over social media, I would love to see what you grow in your garden!
From my garden to yours,
Jill
Did you know I have my own online shop? Check it out HERE!
Hydrangea care. Hydrangea care.