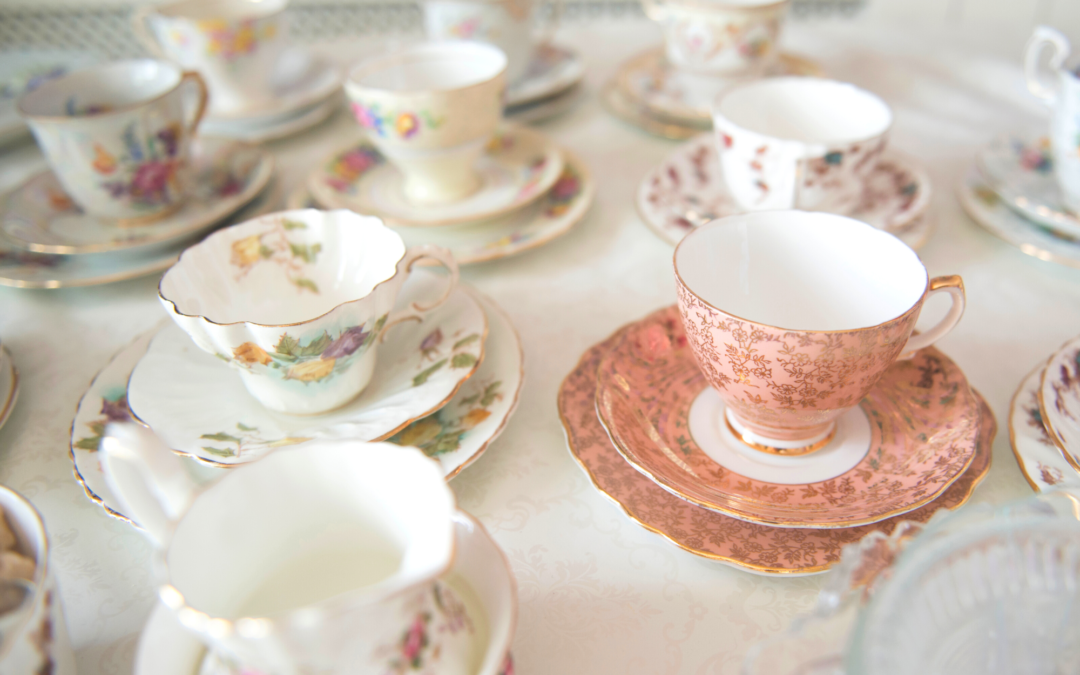
Over the years I’ve inherited and collected a few of those pretty vintage teacups. There’s something so special about each one and I love the character that they have!
Related: DIY Spring Burlap Decor
But if you’re like me, you might not have the time to set up a little tea party on a regular basis. And while you can still display them when not in use, there are plenty of other ways to repurpose your vintage teacups in a new way that gives them new life!
Need some ideas? Here are a few ways to upcycle your teacups!
New Ways to Use Your Vintage Teacups
Not sipping tea from your vintage teacups? Check out these sweet and simple ways to give them a new purpose!
A Faux Floral Display
Most pots that I find are fairly basic. But if you turn your vintage teacup into a new pot for flowers, it adds a unique and decorative element to your space!
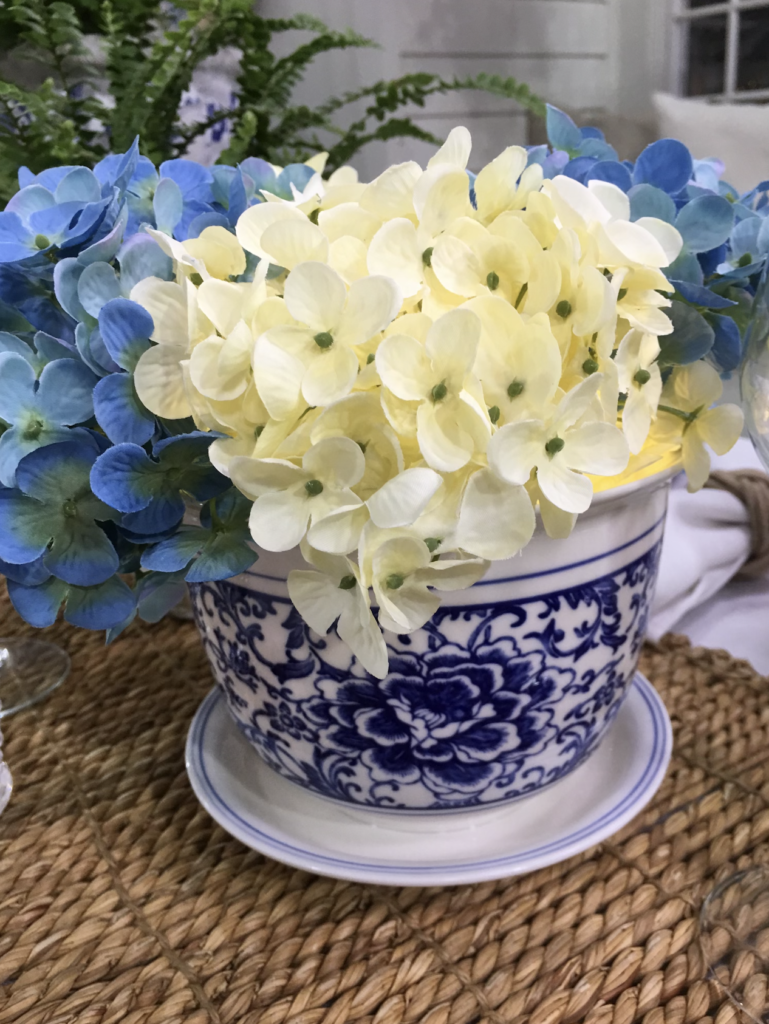
Here, you’ll see that I have faux flowers in the teacup. And by using faux flowers, you can display this setup all season long! I love setting these out on my dining room table or in my kitchen to give the room a vibrant touch.
A Jewelry Catch-All
Don’t ask me how many times I’ve misplaced my earrings… it happens to all of us!
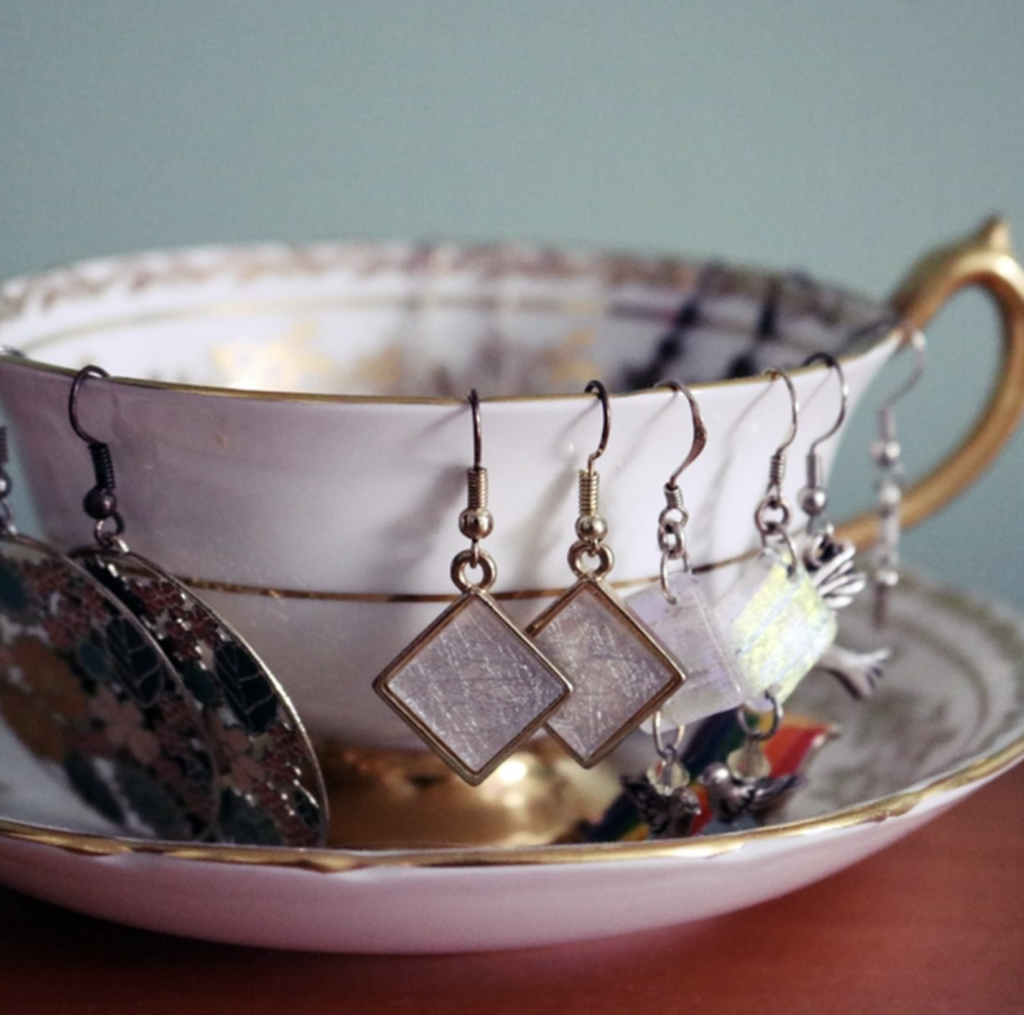
But if you have an accessible place to put all of your jewelry right when you’re done wearing it, the chances of misplacing your favorite pieces are minimal!
Related: Just Jill Shop Earring Gifts
I love this idea of using vintage teacups as jewelry holders. It works best when you have a saucer in addition to the teacup, but it will work if the teacup is the only part you have.
A Whimsical Bird Feeder
It’s that time of the year… time to sit out on the patio and enjoy all of the birds! And while you can certainly head to any store to get a birdfeeder, I just ADORE this cute idea of turning a teacup into a feeder.
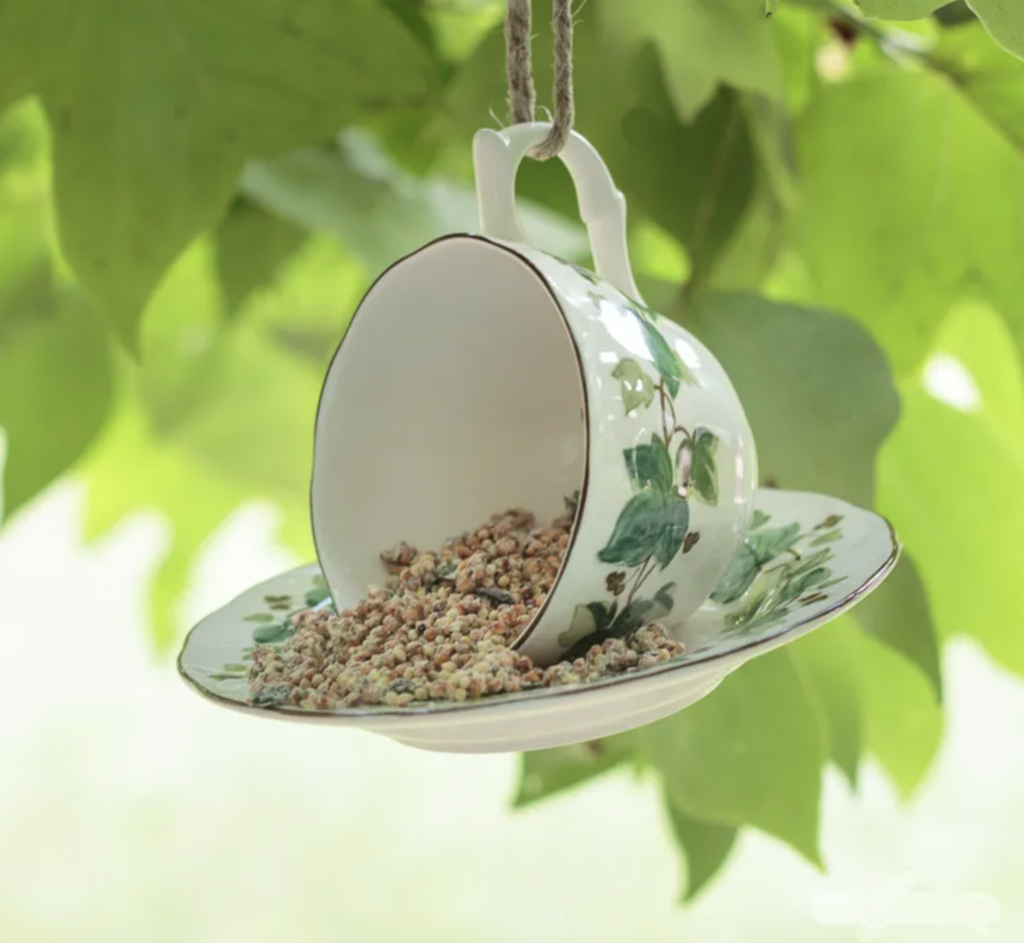
It looks so whimsical, and it’s surprisingly easy to make. You’ll need a teacup and matching saucer, ribbon/string, industrial glue or epoxy, and of course, bird seed!
Start by arranging the teacup on its side with the handle facing upward on the saucer. Apply a few dots of glue where the cup meets the saucer and hold the cup in place while the glue sets.
Related: Spring Garden Decor
I’d let the glue dry completely for around 24 hours, but you can always follow the instructions on the glue bottle. Then, tie ribbon/string to the handle to hang, fill the saucer with birdseed and enjoy the coming and going of your new bird friends!
Vintage Teacups Table Setting
Setting a seasonal tablescape is one of my favorite household decor projects. I’m always surprised at the difference a table setting can make!
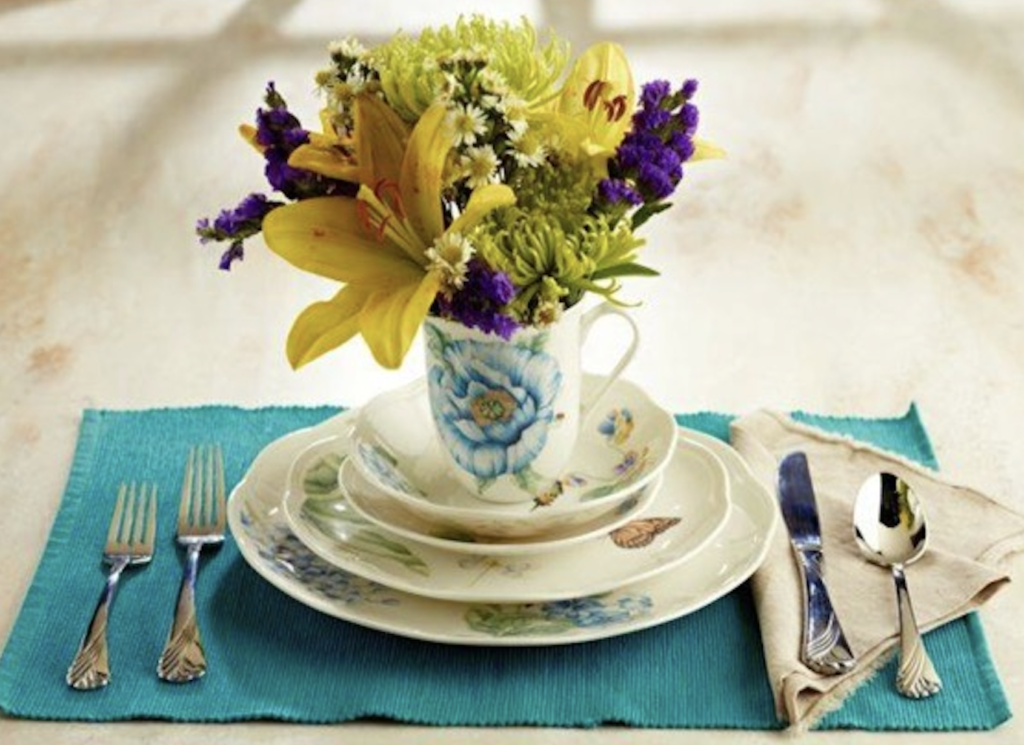
Even if you don’t plan on drinking out of them, setting a teacup on top of your plates and bowls adds some beautiful dimension to any setting. You can even fill it with flowers or goodies if you have guests coming over!
A Plant and Flower Pot
I showed you how you can make a pretty faux floral decor piece above, but you can also use your vintage teacups as pots for real plants and flowers!
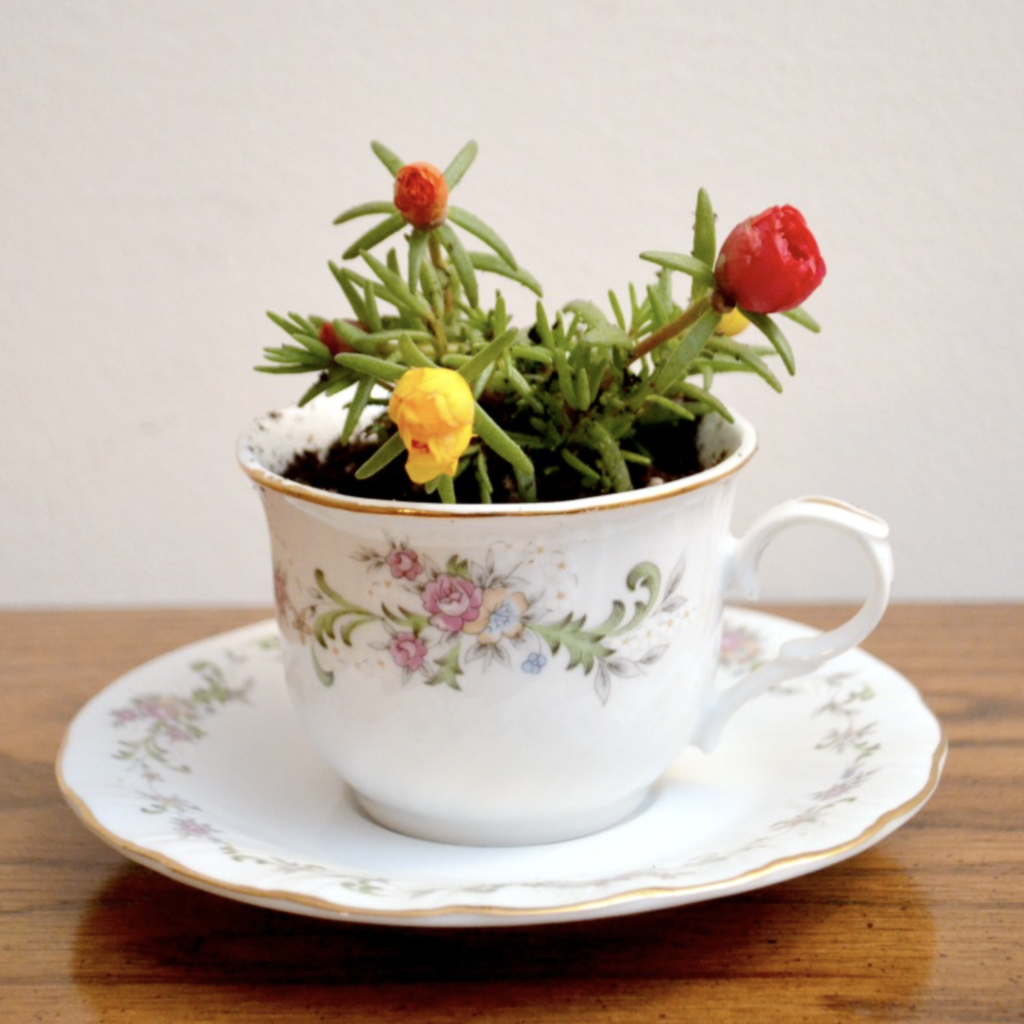
You’ll plant your flowers similar to any other flowers. Just be aware that there isn’t a draining hole in the teacups. So be sure not to overwater! TIP: To help avoid root rot, fill 1 inch of the bottom of the teacup with small pebbles first. Then, add your soil!
Vintage Teacup Candles
I still think the Just Jill Candles are the way to go… but if you’re looking for a candle that’s more decorative than anything, these DIY vintage teacup candles are lovely!
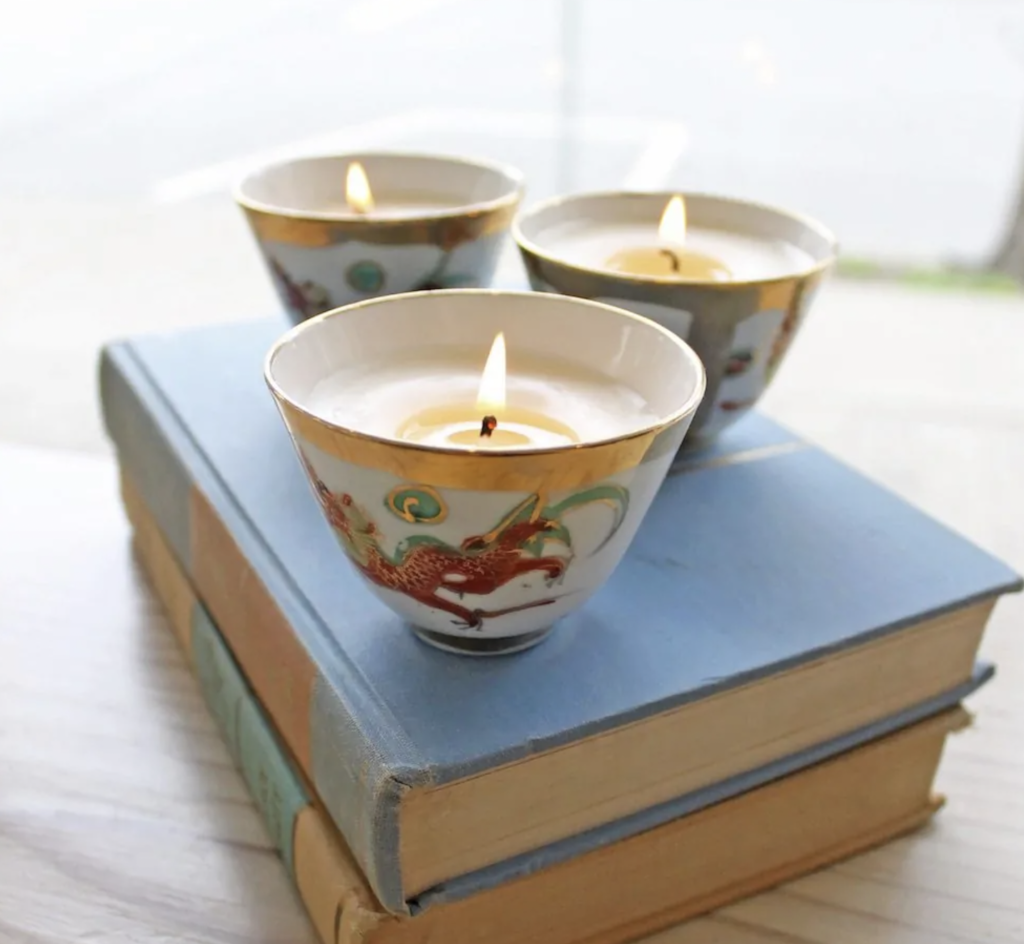
To make these, you’ll need soy wax (you can find it at most craft stores or off of Amazon HERE). You’ll also need candle wicks (which you can snag HERE) and if you’d like fragrance, you can add a few drops of your favorite essential oils. Start by melting your wax in a double boiler or a smaller pot inside a larger one. Put the wax in the top pot with boiling water in the bottom pot. This ensures it won’t burn!
Grab your teacups and place the candle wick in the center of your teacups. You may need to prop it up on the side with sticks or silverware. Then, when your wax is completely melted, pour it into the teacups so that it’s about 1/2 inch from the top.
*If using essential oils, you can drop the oils into the teacup after pouring in the wax.
A DIY Pin Cushion
Do I have any sewers or quilters here? If so, I have the perfect project for you!
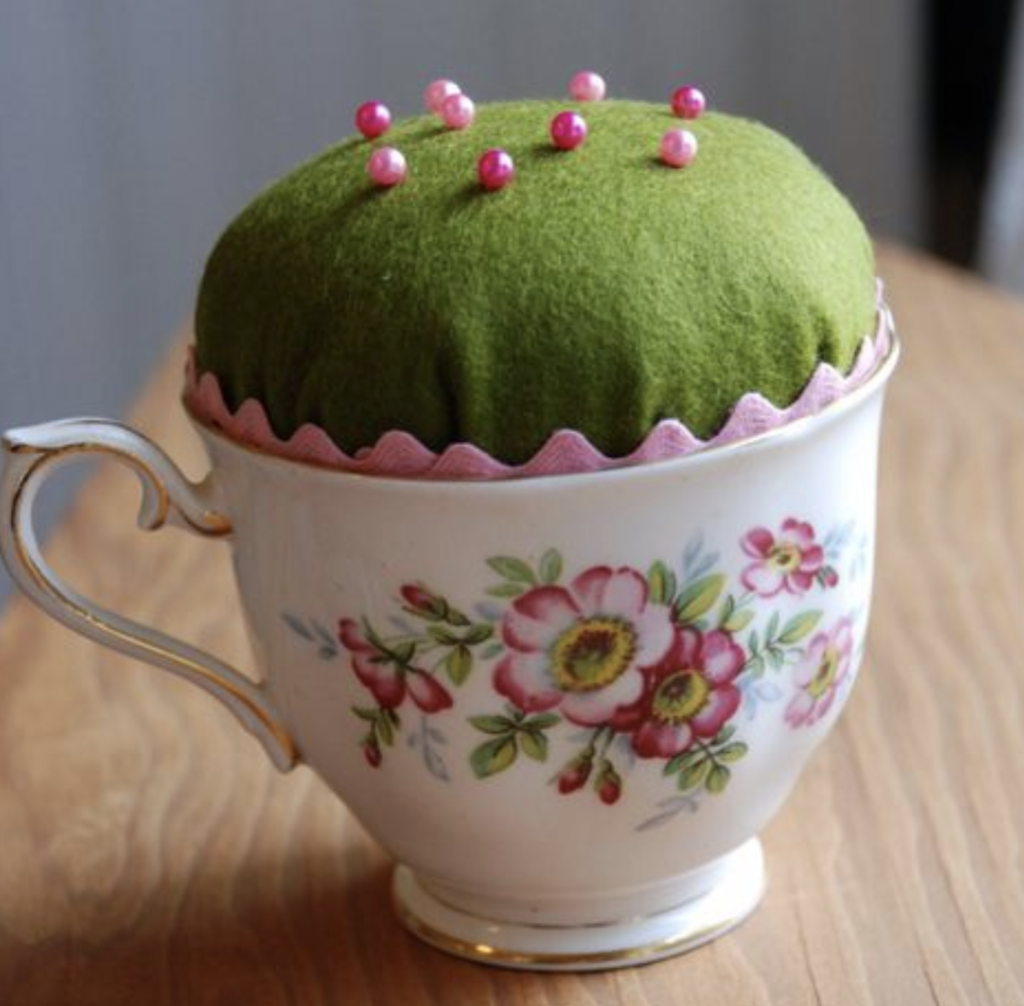
If you have a vintage teacup lying around, you can turn it into a pretty pincushion that you’ll be begging to display! You’ll need a large fabric scrap (about 1 foot by 1 foot), a hot glue gun, batting/filling and a rubber band.
Related: Cute Critters to Add to Your Spring Home
Lay your fabric scrap on the table face down and place a handful of batting on top. Then, gather the ends of the fabric together and tie them with a rubber band. Now is when you’ll “smoosh” the fabric ball into the teacup and secure the sides of the ball to the sides of the cup with a small amount of hot glue.
It’s all ready to use!
Do you have a favorite vintage teacups project? The bird feeder and flower pot are on my radar! Hope you’ll find one idea you want to tackle as well!
From my home to yours,
Jill
Did you know I have my own online shop? Check it out HERE!