
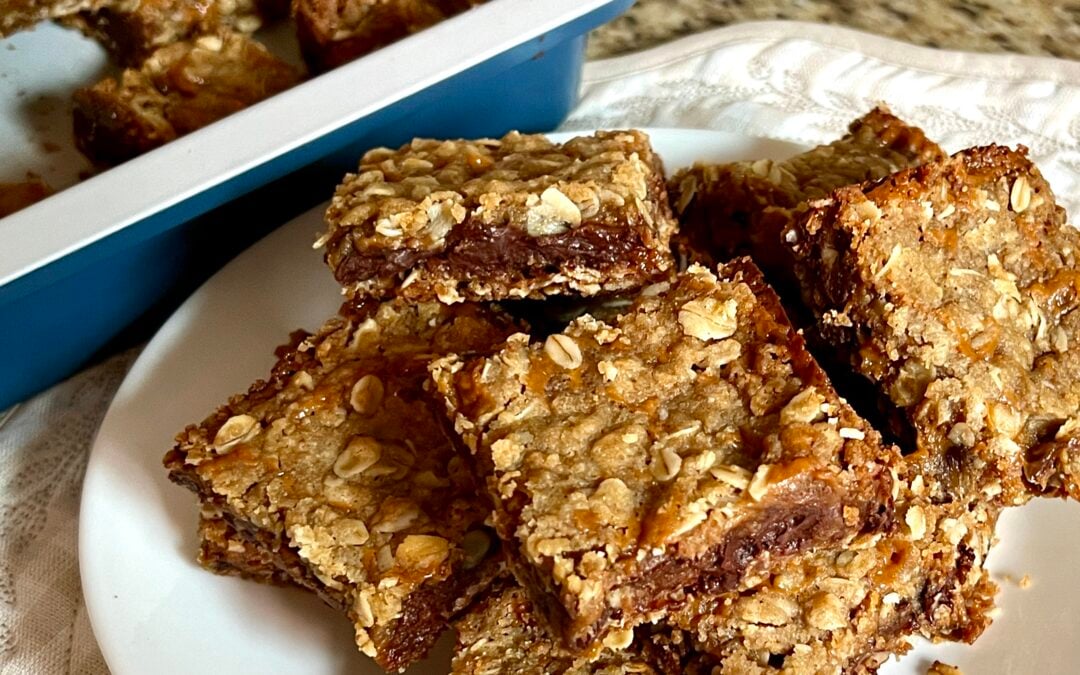
You know that feeling when you bite into a dessert and every texture hits at once?
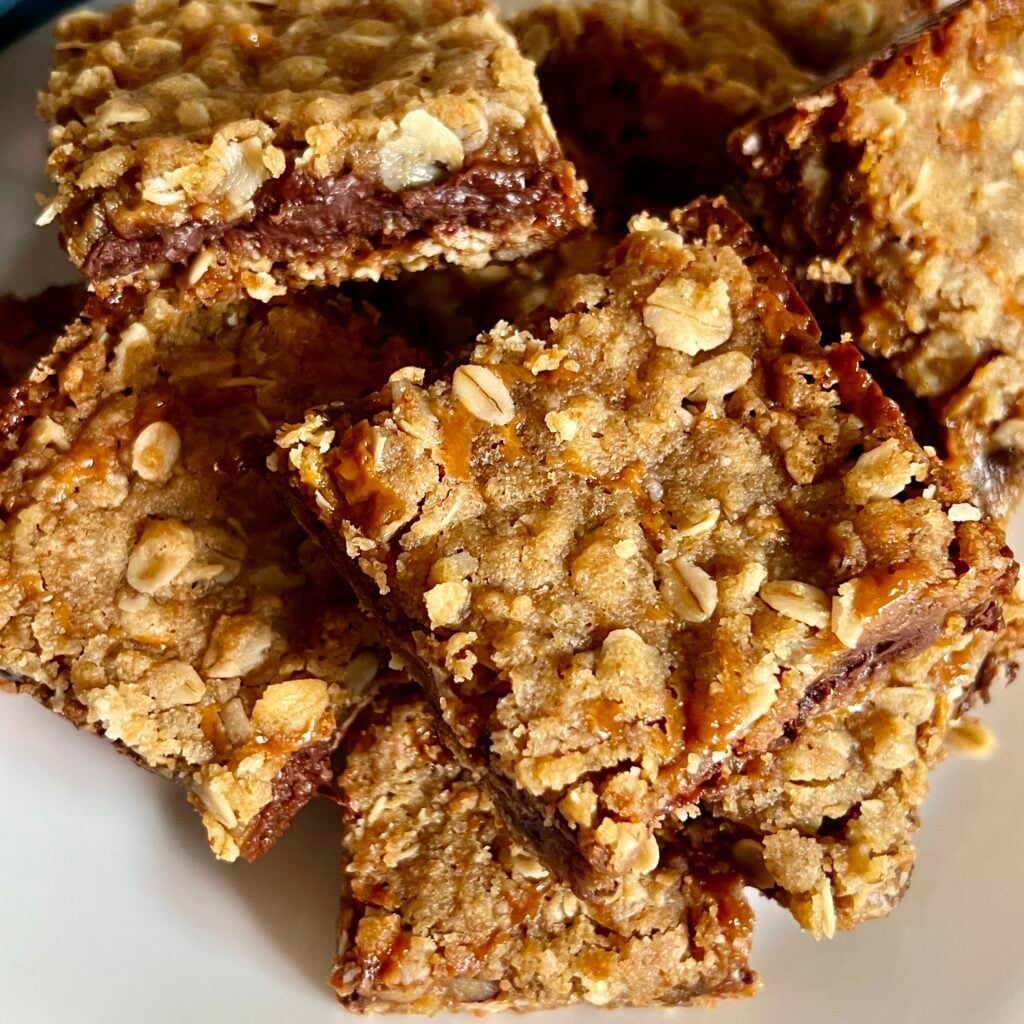
That is exactly what these caramel oat cookie bars do. They are part cookie, part candy bar, part reason-you-cleared-the-whole-pan situation. A buttery oat crust on the bottom, a river of gooey caramel and melted chocolate in the middle, and a crumbly oat topping that somehow stays crispy even after the caramel cools.
These oatmeal caramel chocolate bars remind me of my Grandma Metzger. If you’re a regular around Just Jill, then you know my love of the kitchen comes from her and I love sharing the recipes from her little brown recipe box with all of you.
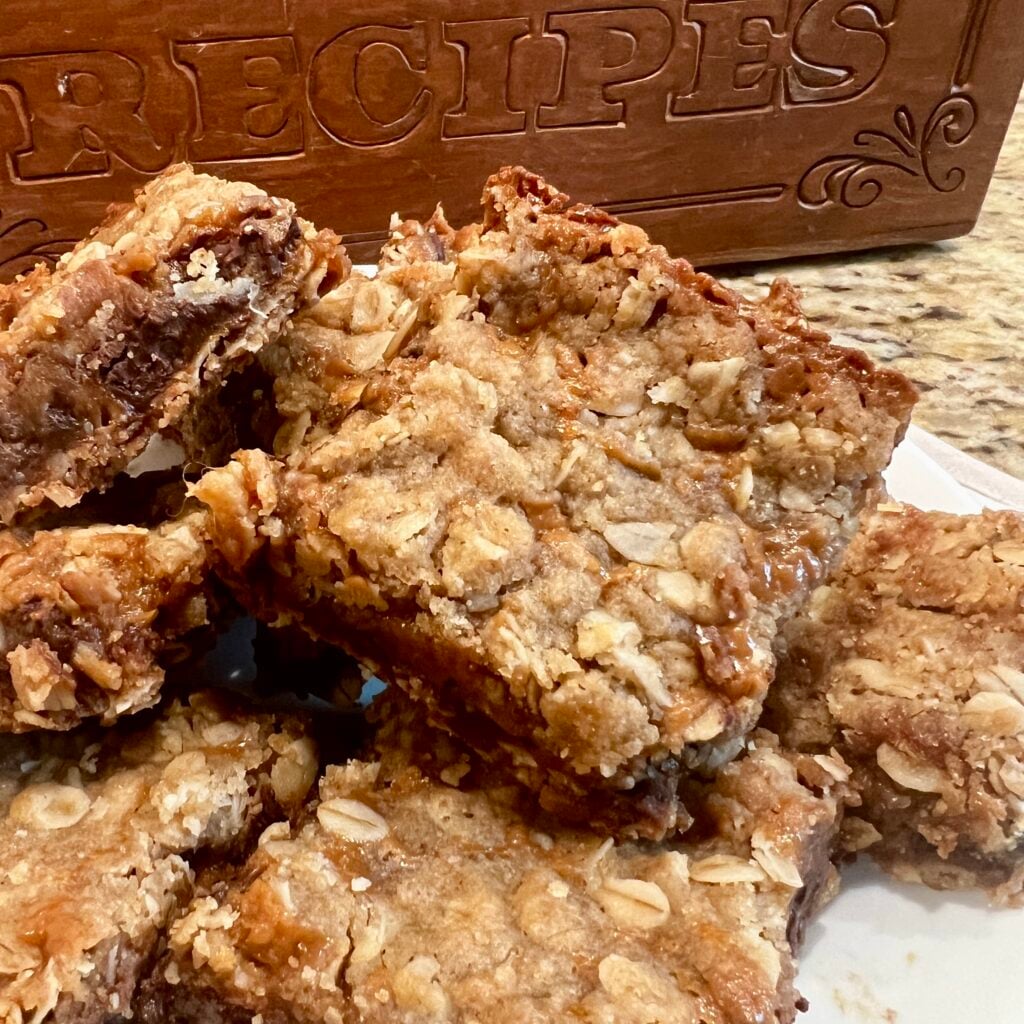
I grew up calling these bars “Carmelitas.” It’s just fun to say. Kind of like Buddy the Elf likes saying Francisco! Grandma always seemed to have the ingredients to make these on hand and like her, I think you’ll love how quick and easy these are to make.
The layers might make these look complicated but they are shockingly simple. One bowl, one pan, and ingredients you probably already have. No chilling, no rolling, no fussy steps that make you second-guess whether you should have just bought a box of something instead.
If you have been looking for a dessert that travels well, slices clean, and makes people ask for the recipe, this is it.
Why Carmelitas Work So Well
Most bar cookies fall into two camps: the dry crumbly ones that taste like health food, or the gooey ones that collapse into a puddle when you try to cut them. Carmelitas live in the sweet spot between structure and indulgence.
The oat base is sturdy enough to hold a serious amount of caramel and chocolate without turning into mush, but it stays buttery and tender instead of tough.
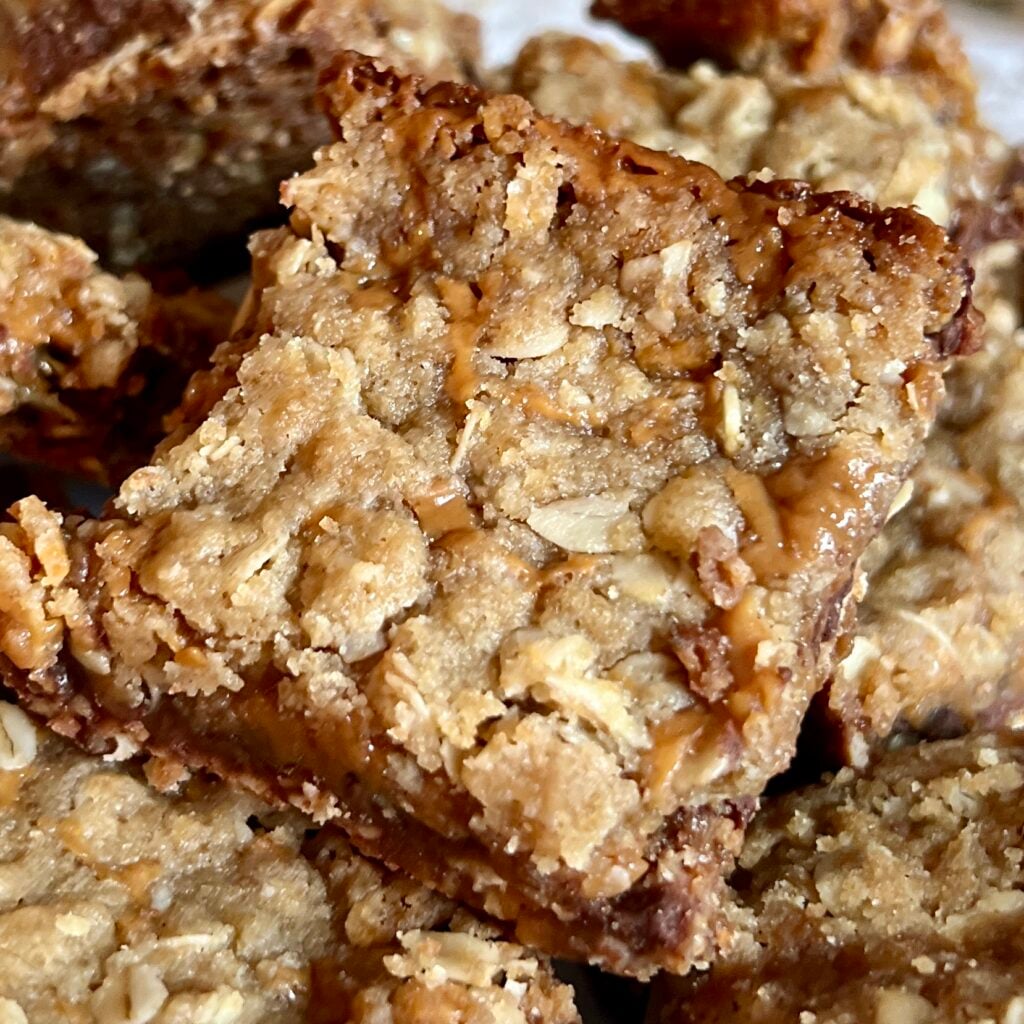
The secret is in the ratio. You press part of the oat mixture into the pan to form a thick, compact crust. That base bakes until it is just set, creating a solid foundation that will not buckle under the weight of melted caramel. The remaining crust mixture gets crumbled on top, where it bakes into those crispy, golden clusters that give every bite contrast.
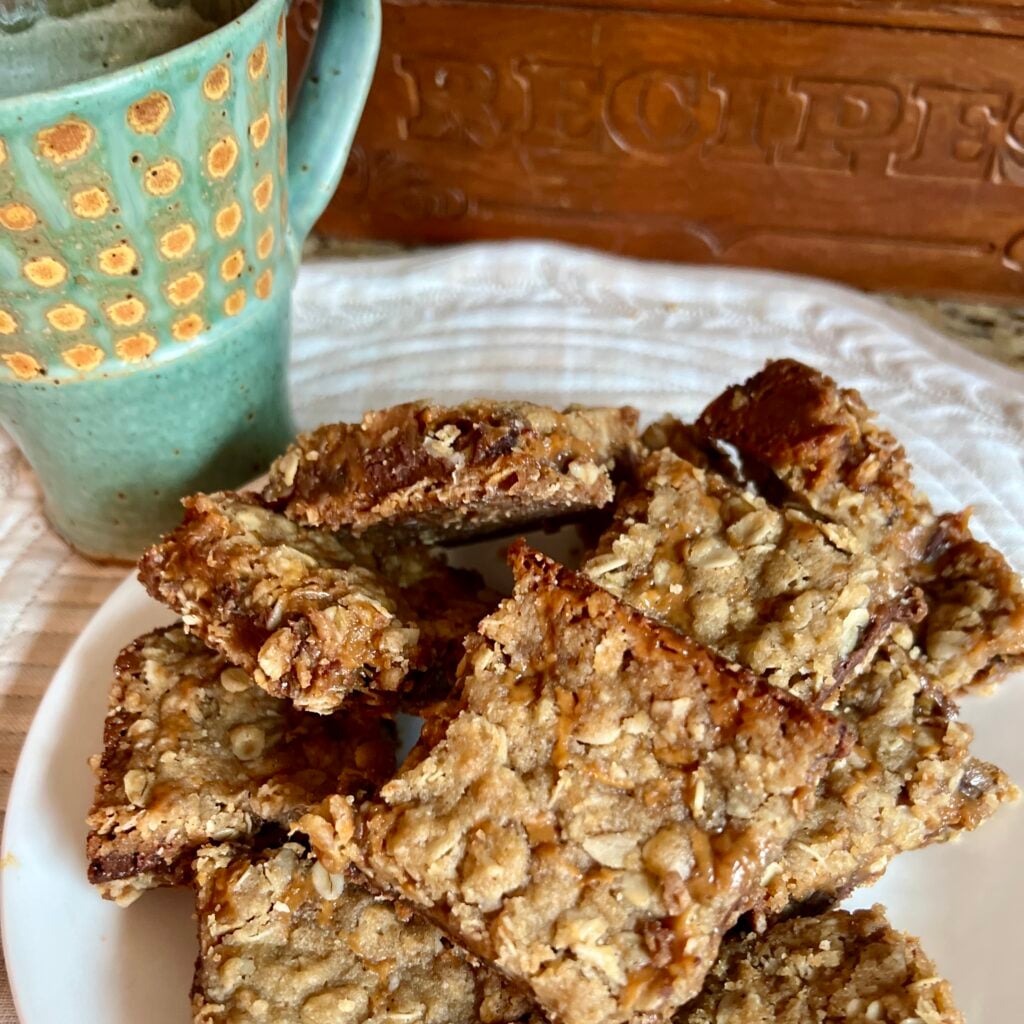
And because the oat mixture has brown sugar and melted butter, it tastes like an oatmeal cookie without the step of actually scooping and baking individual cookies. You get all the flavor and chew with half the effort. The flour content is kept low on purpose, so the bars stay tender instead of cakey. If you have ever made an oatmeal cookie that turned out hard or dry, this method sidesteps that completely.
The caramel layer with the chocolate is what makes people lose their minds. It melts into the crust just enough to bond everything together, but it does not soak through and make the bottom soggy. When you slice into a cooled pan, you get clean edges and that glossy caramel center that stretches just a little when you pull a piece away.
Ingredients and What They Do
Every ingredient in Carmelitas has a job, and swapping things out without understanding the role can throw off the whole balance.
Old-fashioned oats ~ These are the backbone of the crust and topping. Quick oats will turn the mixture mushy and lose that chewy texture. Old-fashioned oats hold their shape and give you those crispy clusters on top. If you only have quick oats, the bars will still taste good but the texture will be softer and less defined. DO NOT USE INSTANT!
All-purpose flour ~ Just enough to bind the oats without making the bars cakey. Too much flour and the crust gets dry and tough. Too little and it will not hold together when you slice it. This amount is the sweet spot.
Light brown sugar ~ Adds moisture and that caramel-adjacent flavor that makes the oat layers taste like a chewy oatmeal cookie. You can use dark brown sugar if you want a deeper molasses note, but light brown keeps things balanced.
Baking soda ~ Helps the crust puff up just a little so it stays tender instead of dense. It also helps the edges brown.
Butter ~ Melted butter coats every oat and binds the crust without making it greasy. I use either salted and unsalted butter when I make these depending on what I have on hand.
Salt ~ Cuts the sweetness and makes the caramel and chocolate taste more complex. Do not skip it.
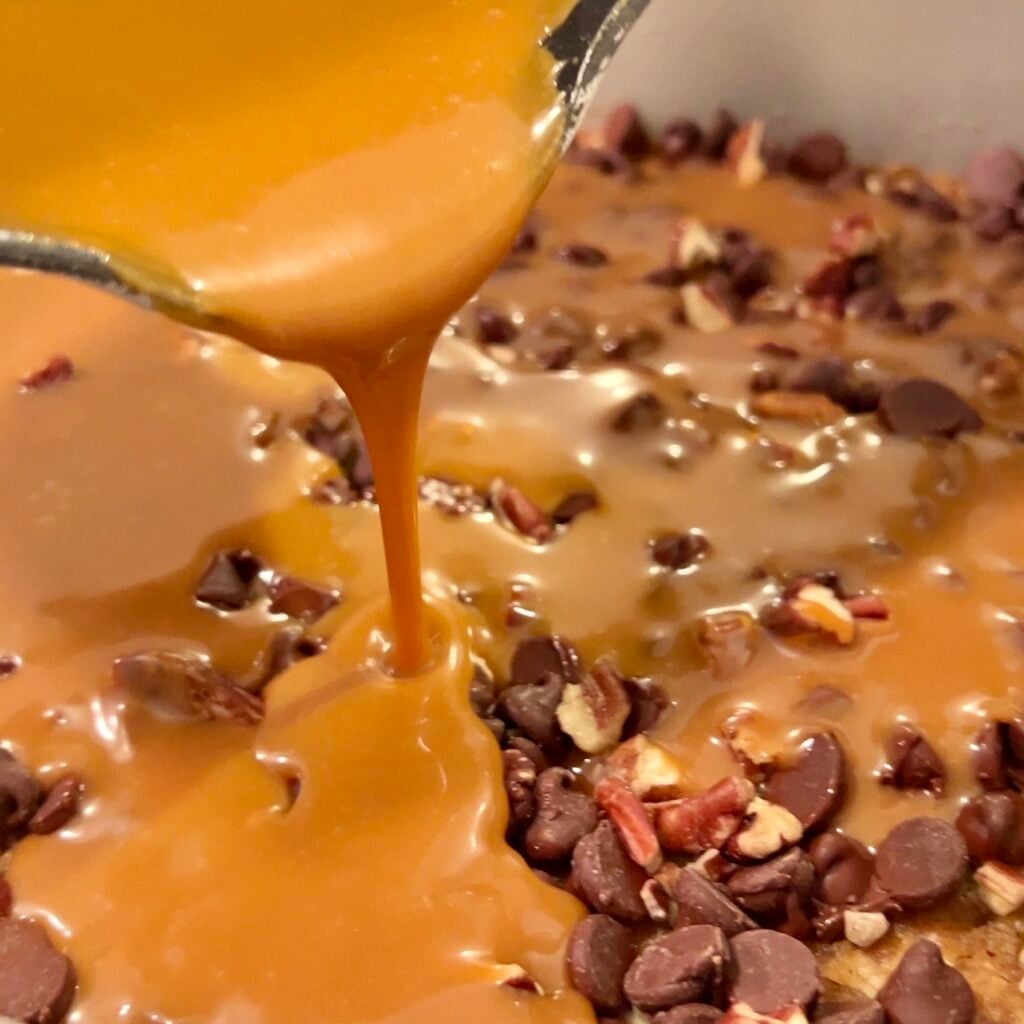
Heavy cream ~ Loosens the caramels so they melt into a pour-able consistency without seizing up. Half and Half works well too (and often what I use since I put in my coffee!)
Soft caramels ~ Kraft caramels are the classic choice because they melt smoothly and have a consistent texture.
Semi-sweet or milk chocolate chips ~ Semi-sweet balances the caramel sweetness. Milk chocolate makes the bars taste more like a candy bar.
Variations and Swaps
These caramel chocolate oat bars are wildly adaptable once you understand the structure. You can swap the chocolate, change the add-ins, or even play with the caramel without wrecking the recipe.
Chocolate swaps: White chocolate chips make the bars sweeter and add a vanilla note. You can also mix half milk chocolate and half dark for balance. Chopped chocolate bars work too, but chop them into chip-sized pieces so they melt evenly.
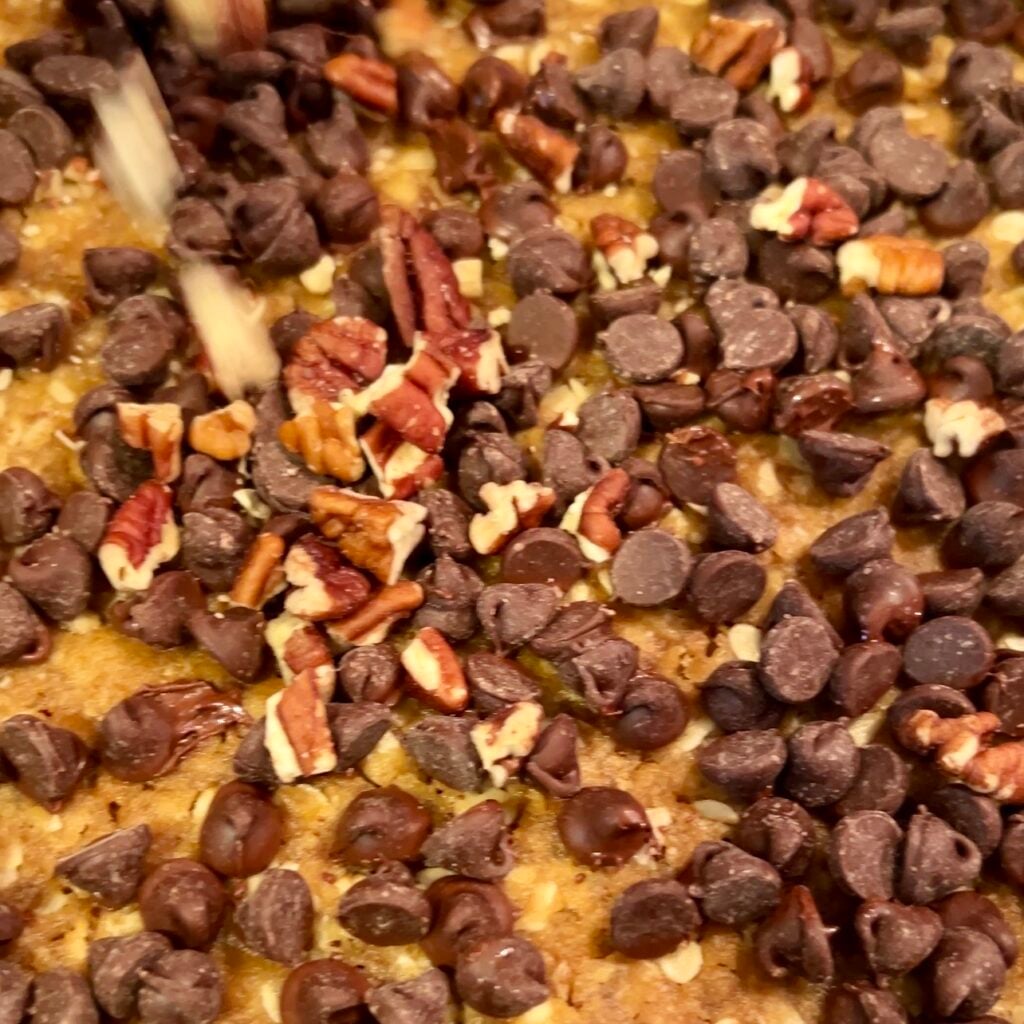
Nut add-ins: I usually add pecans to these oat bars because they’re my favorite. Walnuts can also be used. If you are using salted nuts, reduce the added salt in the oat mixture to a pinch.
Salted caramel version: Sprinkle flaky sea salt over the caramel layer right after you pour it. The salt crystals will stay crunchy and add bursts of contrast. Do not use table salt or it will dissolve and taste harsh. Remember, less is more!
Gluten-free option: Swap the all-purpose flour with a 1-to-1 gluten-free baking flour. The texture will be slightly more crumbly, but the bars will still hold together. Make sure your oats are certified gluten-free.
The structure of the recipe is flexible as long as you keep the oat-to-butter ratio intact and do not overload the caramel layer.
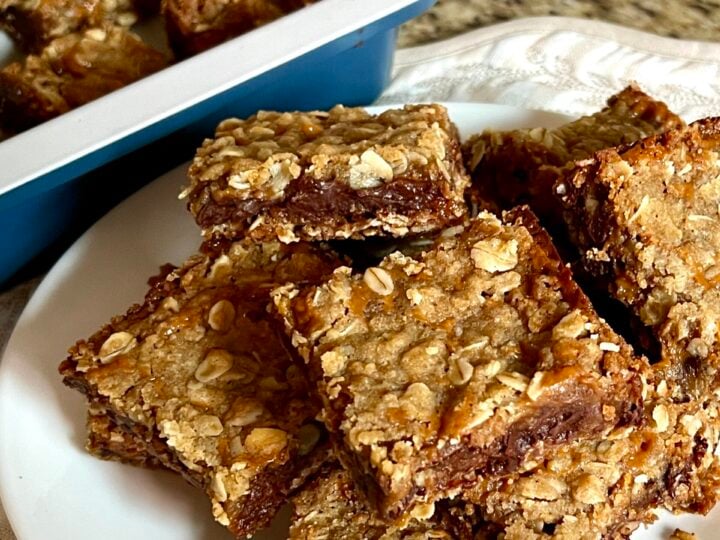
Carmelitas (Caramel Chocolate Oat Bar Cookies)
Three layers, zero fuss. This buttery oat crust cradles melted caramel and chocolate chips into bars that taste like the best cookie you never knew you needed.
Ingredients
- 1/2 c. heavy cream or half and half
- 1 bag (11oz) Kraft caramels
- 1 c. old fashioned oats
- 1 c. all purpose flour
- 3/4 c. light brown sugar
- 1/2 tsp. baking soda
- 1/4 tsp. salt
- 1 1/2 sticks (12 tbsp) butter, melted
- 6 oz. chocolate chips
- 1/2 cup chopped nuts (optional, but I love pecans in this recipe)
Instructions
- Preheat oven to 350. Grease a 9x9 baking pan (or line with parchment that is lightly greased).
- In a small saucepan, add the caramels and cream and heat over low. Stir frequently until caramels are completely melted and smooth. Remove from heat and set aside.
- In a medium sized bowl, combine oats, flour, brown sugar, baking soda and salt. Add melted butter to the mixture and combine well.
- Press half of oat mixture into the bottom of greased baking pan. If you have to take a little more of the mixture to cover the bottom of the pan, that's fine. You're not going for a super thick bottom layer, just evenly covered. I find that the mixture starts to spread to cover more that I think it will as I'm pressing it into place. Just trust the pressing process!
- Bake the crust for 10 minutes then remove from oven.
- Sprinkle the chocolate chips and nuts (if using) over the baked crust.
- Slowly pour the melted caramel over the the chocolate and nuts, completely covering covering all.
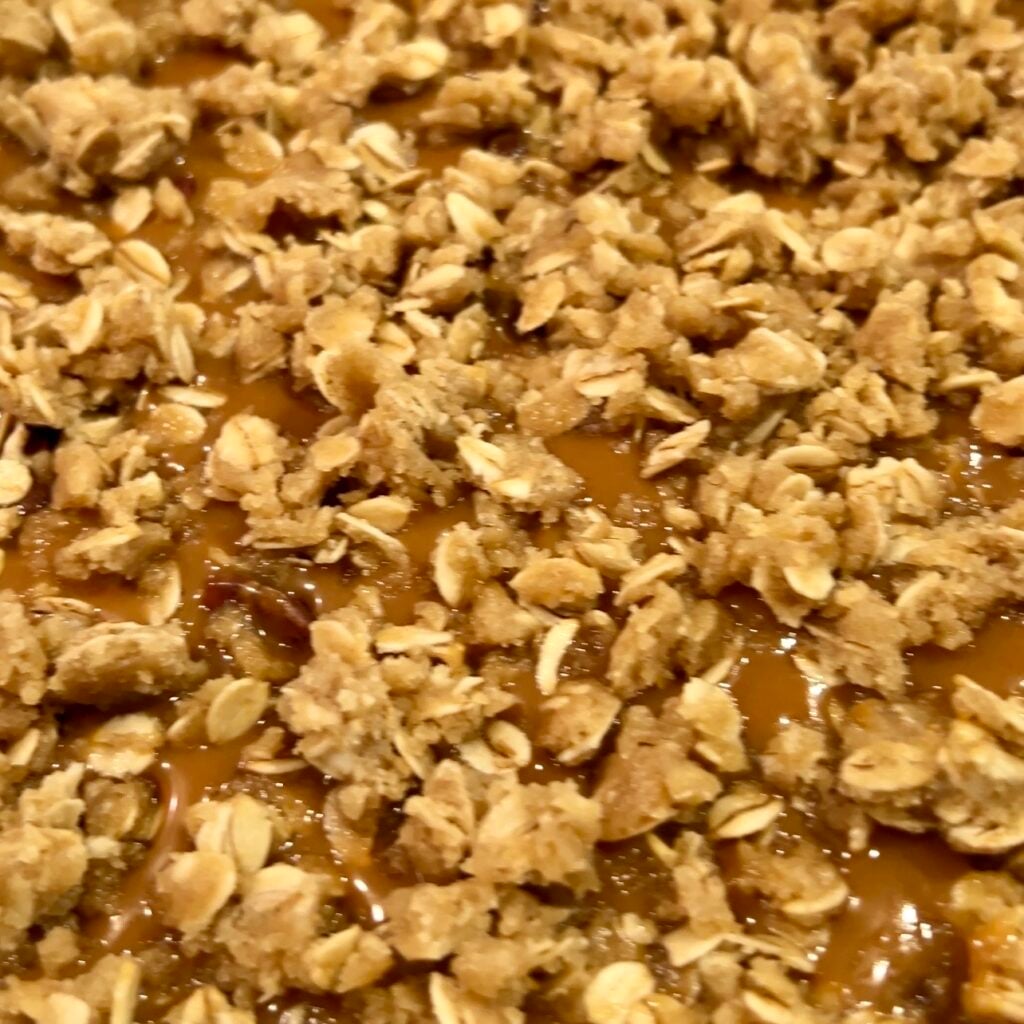
- Crumble the remaining oat mixture over the caramel. Don't worry if the oat crumbles don't completely cover all of the caramel. It's not supposed to be as densley covered as the bottom layer.
- Bake for 18-22 minutes (depending on your oven), until light brown. The caramel should bubbling around the edges...it's okay if the center still looks a bit jiggly (not too much) as it will set up more as it cools.
- COOL COMPLETELY BEFORE SLICING! I know, the hardest part. These need to cool so that the caramel can set up. Believe me, if you're too anxious, slicing these warm will make them a mess. Learnings from experience!
Storage Tips
Carmelitas keep well, which makes them perfect for baking ahead or sending in care packages. Once the bars are completely cool and sliced, store them in an airtight container at room temperature for up to 5 days. Layer parchment paper between the bars to keep them from sticking together. The caramel will stay gooey, but the oat layers will soften slightly as the bars sit.
If you want to keep them longer, refrigerate them for up to 10 days. The caramel will firm up in the fridge, so let the bars sit at room temperature for 15 minutes before eating if you want that soft, stretchy texture back. You can also freeze them for up to 3 months. Wrap individual bars tightly in plastic wrap, then store them in a freezer-safe bag or container. Thaw at room temperature for a couple of hours before serving.
Do not store Carmelitas in a container without a lid or they will dry out. The oat topping will get hard and the caramel will form a skin. If you are stacking them, always use parchment or wax paper between layers or you will end up with a caramel-glued brick.
Carmelitas are one of those recipes that deliver way more than the effort suggests. You get layers of texture, a balance of sweet and salty, and a dessert that holds up whether you are serving it at a party or eating it straight from the pan at midnight. Once you nail the method, you will find yourself making them on repeat, tweaking the chocolate or adding nuts or just baking them exactly as written because sometimes the original is all you need. Remember, if it’s a recipe from my Grandma, then it has to be good!
From my family’s kitchen to yours,
Jill
_______________________________________________________________________________________________
Here are a few delicious things you might also want to try from my Grandma’s Recipe Box.
No Bake Cherry Cheesecake Dessert