If you’re a person that likes a little tangy sweetness when it comes to dessert, a pineapple upside-down cake will surely leave you satisfied.
The first upside-down cakes weren’t even made with pineapples and instead, made with fruit like cherries and apples instead.

But when canned pineapple became a popular household staple, the classic (and if I do say so myself, “iconic”) pineapple upside-down cake was invented.
Related: My Fan-Favorite Pineapple Bake
While it was most popular in the 1950s and 1960s, the dessert stuck around. And now decades later, it’s still loved all over the States!
The original pineapple upside-down cake was made in a heavy steel pan (think, your go-to cast-iron skillet), but I make mine in a classic 9 x 9 pan.
For ingredients and instructions, check out the recipe below!
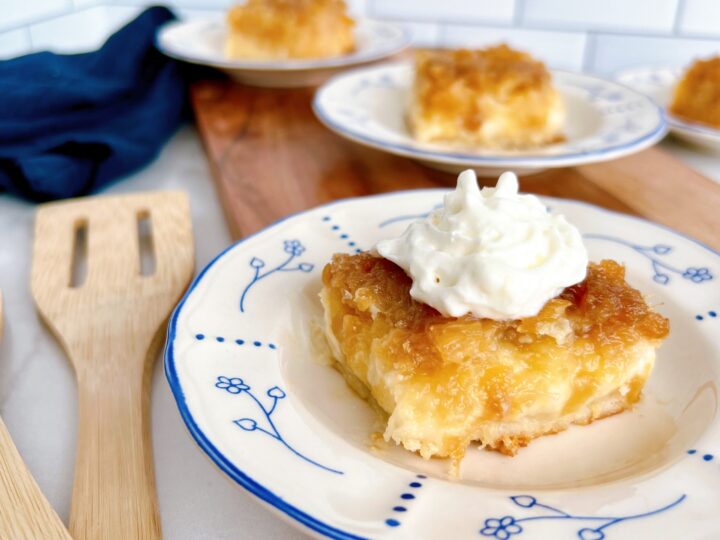
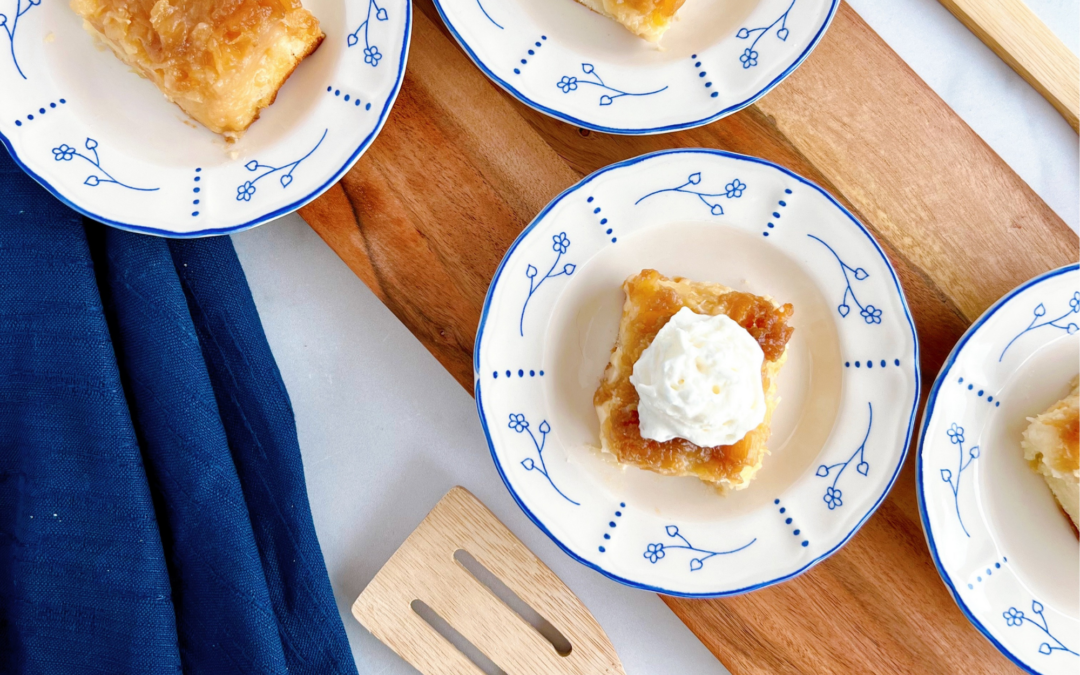
Crushed Pineapple Upside Down Cake
Ingredients
- 1/2 cup brown sugar
- 1/3 c. butter
- 1 20 oz. can crushed pineapple, well drained, juice set aside
- 2 eggs
- 2/3 cup sugar
- 1 tsp. vanilla
- 1 cup all purpose flour (sifted)
- 1/2 tsp. baking soda
- 1/4 tsp. salt
Instructions
- Preheat oven to 350.
- Spray 9x9 square pan with baking spray.
- Melt butter over medium heat in a sauce pan. Add brown sugar.
- Put butter mixture into baking pan.
- Add pineapple on top of brown sugar butter mixture.
- In a separate bowl, beat eggs until lemon colored (about 5 minutes)
- Gradually beat in sugar, 6 tbsp of reserved pineapple juice and vanilla.
- In small bowl, combine dry ingredients.
- Add dry ingredients to wet batter and combine until fully incorporated.
- Pour cake batter over pineapple in baking pan.
- Bake approximately 45 minutes, or until wooden pick thrust into the center of the cake comes out clean.
- Immediately turn upside down onto a serving plate, but do not remove pan for a few minutes... this allows the brown sugar/pineapple mixture to run down over the cake.
- Serve warm with whipped cream.
The melted butter on the bottom keeps the pineapple moist and burn-free. And it also makes it easy to flip the cake upside down without any of the deliciousness sticking to the bottom. One of my biggest tips when baking is to drain the pineapple beforehand or it will be pretty soggy and liquidy on the bottom (which then becomes the top).
Related: Easy No-Bake Cherry Cheesecake Dessert
Another tip? After flipping the cake on a serving tray or plate, wait a couple of minutes before removing the baking pan. You’ll be left with a decadent brown sugar mixture that soaks into the cake and falls along the side.
Drool-worthy indeed!
As we embark on the warmest months of the year, I hope you’ll find time to make this delicious dessert! But trust me. This crushed pineapple upside-down cake around the holidays is also a welcome treat.
From my kitchen to yours,
Jill
Did you know I have my own online shop? Check it out HERE!